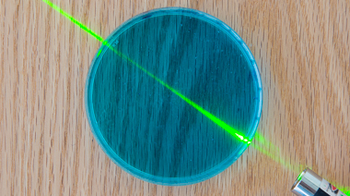
Laser Shapes
Improve your aim—and practice spatial reasoning—by bouncing laser light off a series of mirrors. Learn about geometry and discover the underlying rule that determines the angle of reflected light.
Warning: Never look directly into a laser or point a laser into another person’s eyes.
- Laser pointer
- Books, a cup, or other flat-topped object(s) to support the laser pointer (not shown). (Alternatively, a ring stand and clamp holder can hold the laser in place.)
- Tape (not shown)
- Five or six small mirrors
- Five or six medium or large binder clips
- Spray bottle with water
- Optional: paper and pen; protractor; tape or string to trace out the shapes; plastic covering to protect your work surface

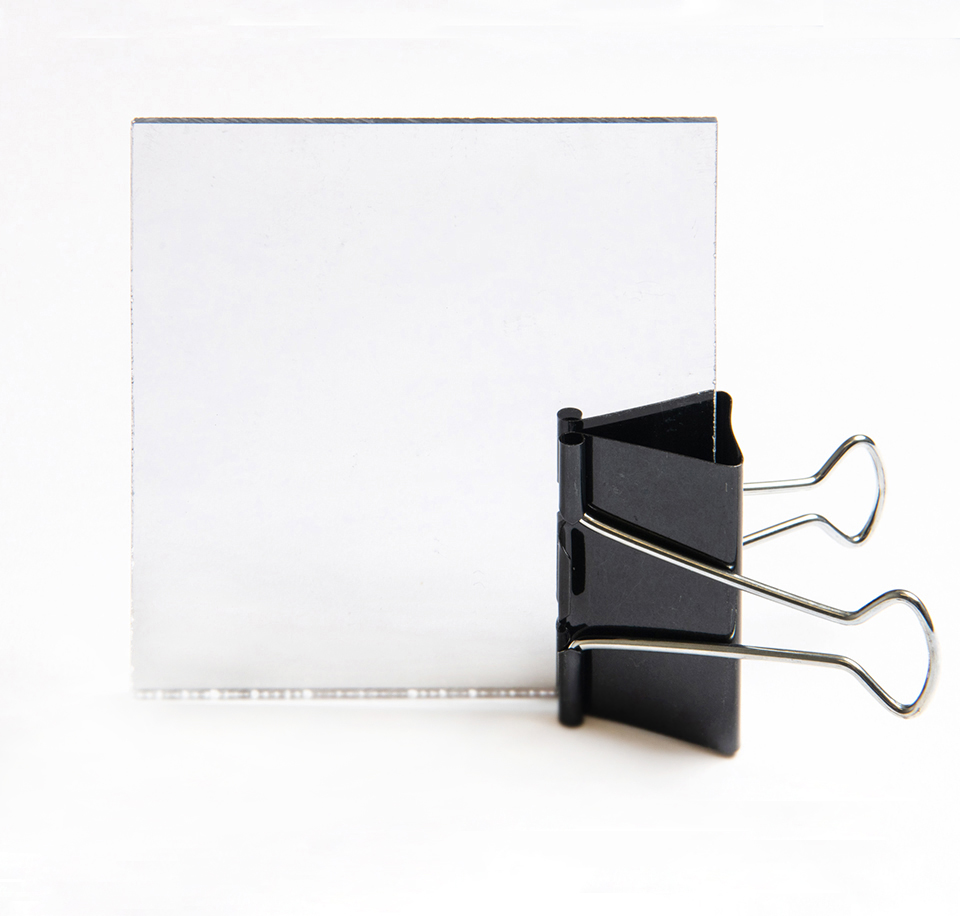
Place a binder clip on the corner of each mirror to use as a stabilizer. The mirrors should each be able to stand vertically without any additional support (click to enlarge example below).
- Stand one mirror on the table and set the others aside.
Place the stack of books, cup, or other flat-topped object(s) on the table to create a supporting surface for your laser pointer. When you set your laser pointer on top, it should be at roughly the height of the center of the standing mirror (click to enlarge image below).

- Turn on your laser pointer, using a large binder clip to hold the button to keep the laser on. Place the laser in your desired location. (You can also use tape to keep the laser on, if that works better.)
Always use caution when working with lasers. Never point a laser into anyone’s eyes, or place your head at the level of the laser beam.
Note: Use caution when sending a laser beam onto mirrors. Never tilt the mirror up toward eye level, as this can result in hazardous reflections.
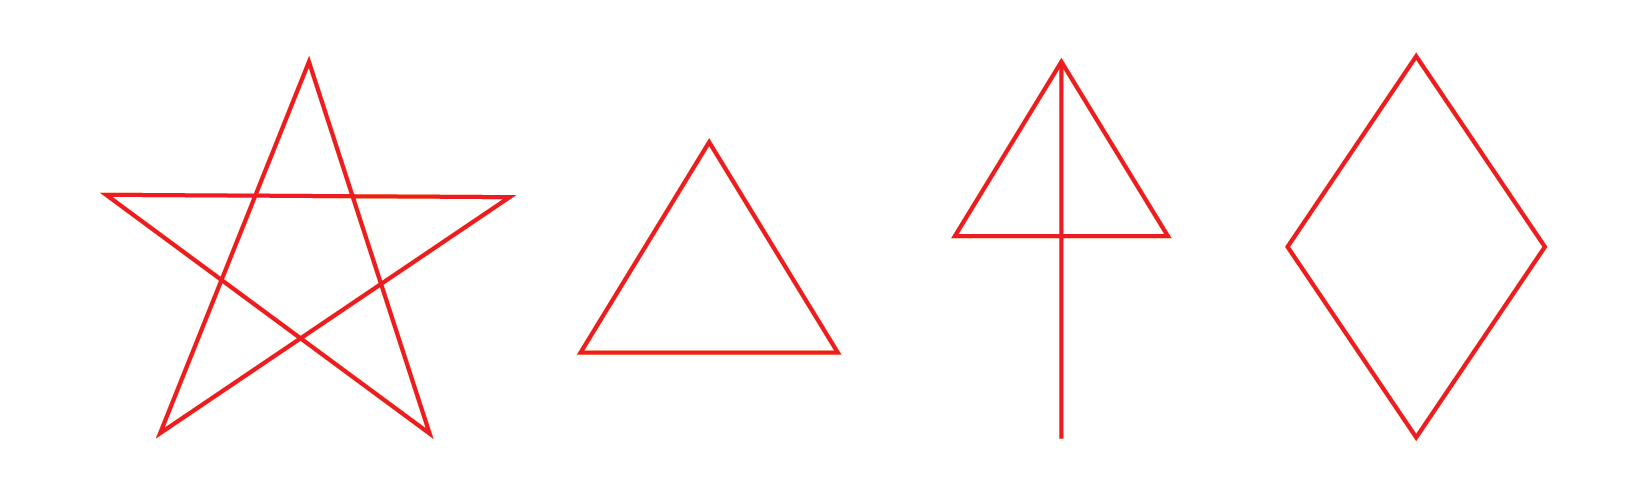
Aim the laser toward the mirror, and turn the mirror so that the light reflects off in a new direction. Use the spray bottle to spray a mist of water that can help you see the path of the light. Then stand a second mirror in the beam path and direct the light from that mirror in another new direction. Repeat with all the mirrors, adjusting the space between them as needed, to create different geometrical shapes, such as stars, arrows, diamonds, and more.
Some shapes to try (click image to enlarge):
As you work, you might want to use string or tape to trace out the planned path of the beam, even though you won’t be able to see it.
To find out how you’ve done, use your spray bottle to mist the air in front of the last mirror. Your pattern will be revealed in the mist.
What do you notice about the angles created by the path of light as it hits and then bounces of of a mirror?
As you maneuver the mirrors to make different shapes, you may make an important discovery: When a beam of light strikes a mirror, it reflects off the mirror at the same angle it went in. This is known as the law of reflection. Stated more formally: “The angle of incidence equals the angle of reflection.” Mathematically, the relationship can be simply written using the Greek symbol theta (θ) to represent the angle:
θinc = θref (Click to enlarge image below.)

You can use the law of reflection to your advantage when planning out your shapes. For example, if the laser beam strikes the surface of a mirror at a 45-degree angle, you know that it will bounce off the mirror at the same 45-degree angle. With a good eye (or better still, with a protractor), it’s possible to plan out a series of reflections that create your desired shape without too many mirror adjustments.
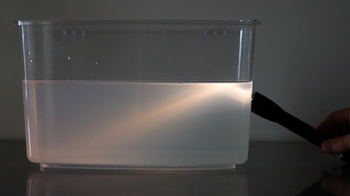
People are often surprised at how difficult it is to see a laser beam as it travels through air. The beam is only visible when it reflects off dust or other airborne particles. Here, we spray water droplets into the air to make the beam visible.
In addition to creating different shapes, you can also try directing the beam to hit a specific object. Place a hand-drawn target across the room, or identify a distant point, and try using the mirrors to guide the beam to hit the bullseye.
This Science Snack is a great ice breaker and is useful for teaching about the law of reflection. It helps students work with their spatial reasoning and is a fun puzzle activity that can encourage group work. You might want to give groups of students different goals to reach by drawing a shape beforehand and putting one at each group’s table. After everyone is done, you can do a class gallery walk to view every group’s shape.
A more rigorous approach to this Snack is to give all students only one mirror at a time (and, optionally, a protractor) and ask them to gather evidence about how reflected light travels. Can they come up with a rule that describes their observations? Have each group share their findings with the class and get everyone on the same page before moving forward.
You can engage students in science and engineering practices by having them define the problem (directing a laser beam from point A to point B) and asking them questions about how light travels and how they can control the direction of a light beam bouncing off a mirror. Students can engage in mathematical thinking by using a protractor to measure the incoming and reflected angles of light on the mirror and prove to themselves that the angle of incidence is the same as the angle of reflection. Having students share the tips and tricks they used to successfully create their shapes can also help them develop a common scientific language and build communication skills.
This Science Snack is based upon work done in partnership with the Laser Interferometer Gravitational Wave Observatory and supported by the National Science Foundation under Grant No. PHY-2011985. Any opinions, findings, and conclusions or recommendations expressed in this material are those of the authors and do not necessarily reflect the views of the National Science Foundation.