
A few weeks ago Ryoko shared a post documenting the Shadow Remix activity that she recently facilitated. This post will provide more information about the light sources we use for our light and shadow experiences.
At the Tinkering Studio we really care about the materials we use. Whether it’s a particular brand of masking tape*, a specific cardboard box**, or, in this case, a customised flashlight, we spend a lot of time thinking and experimenting with our materials and tools.
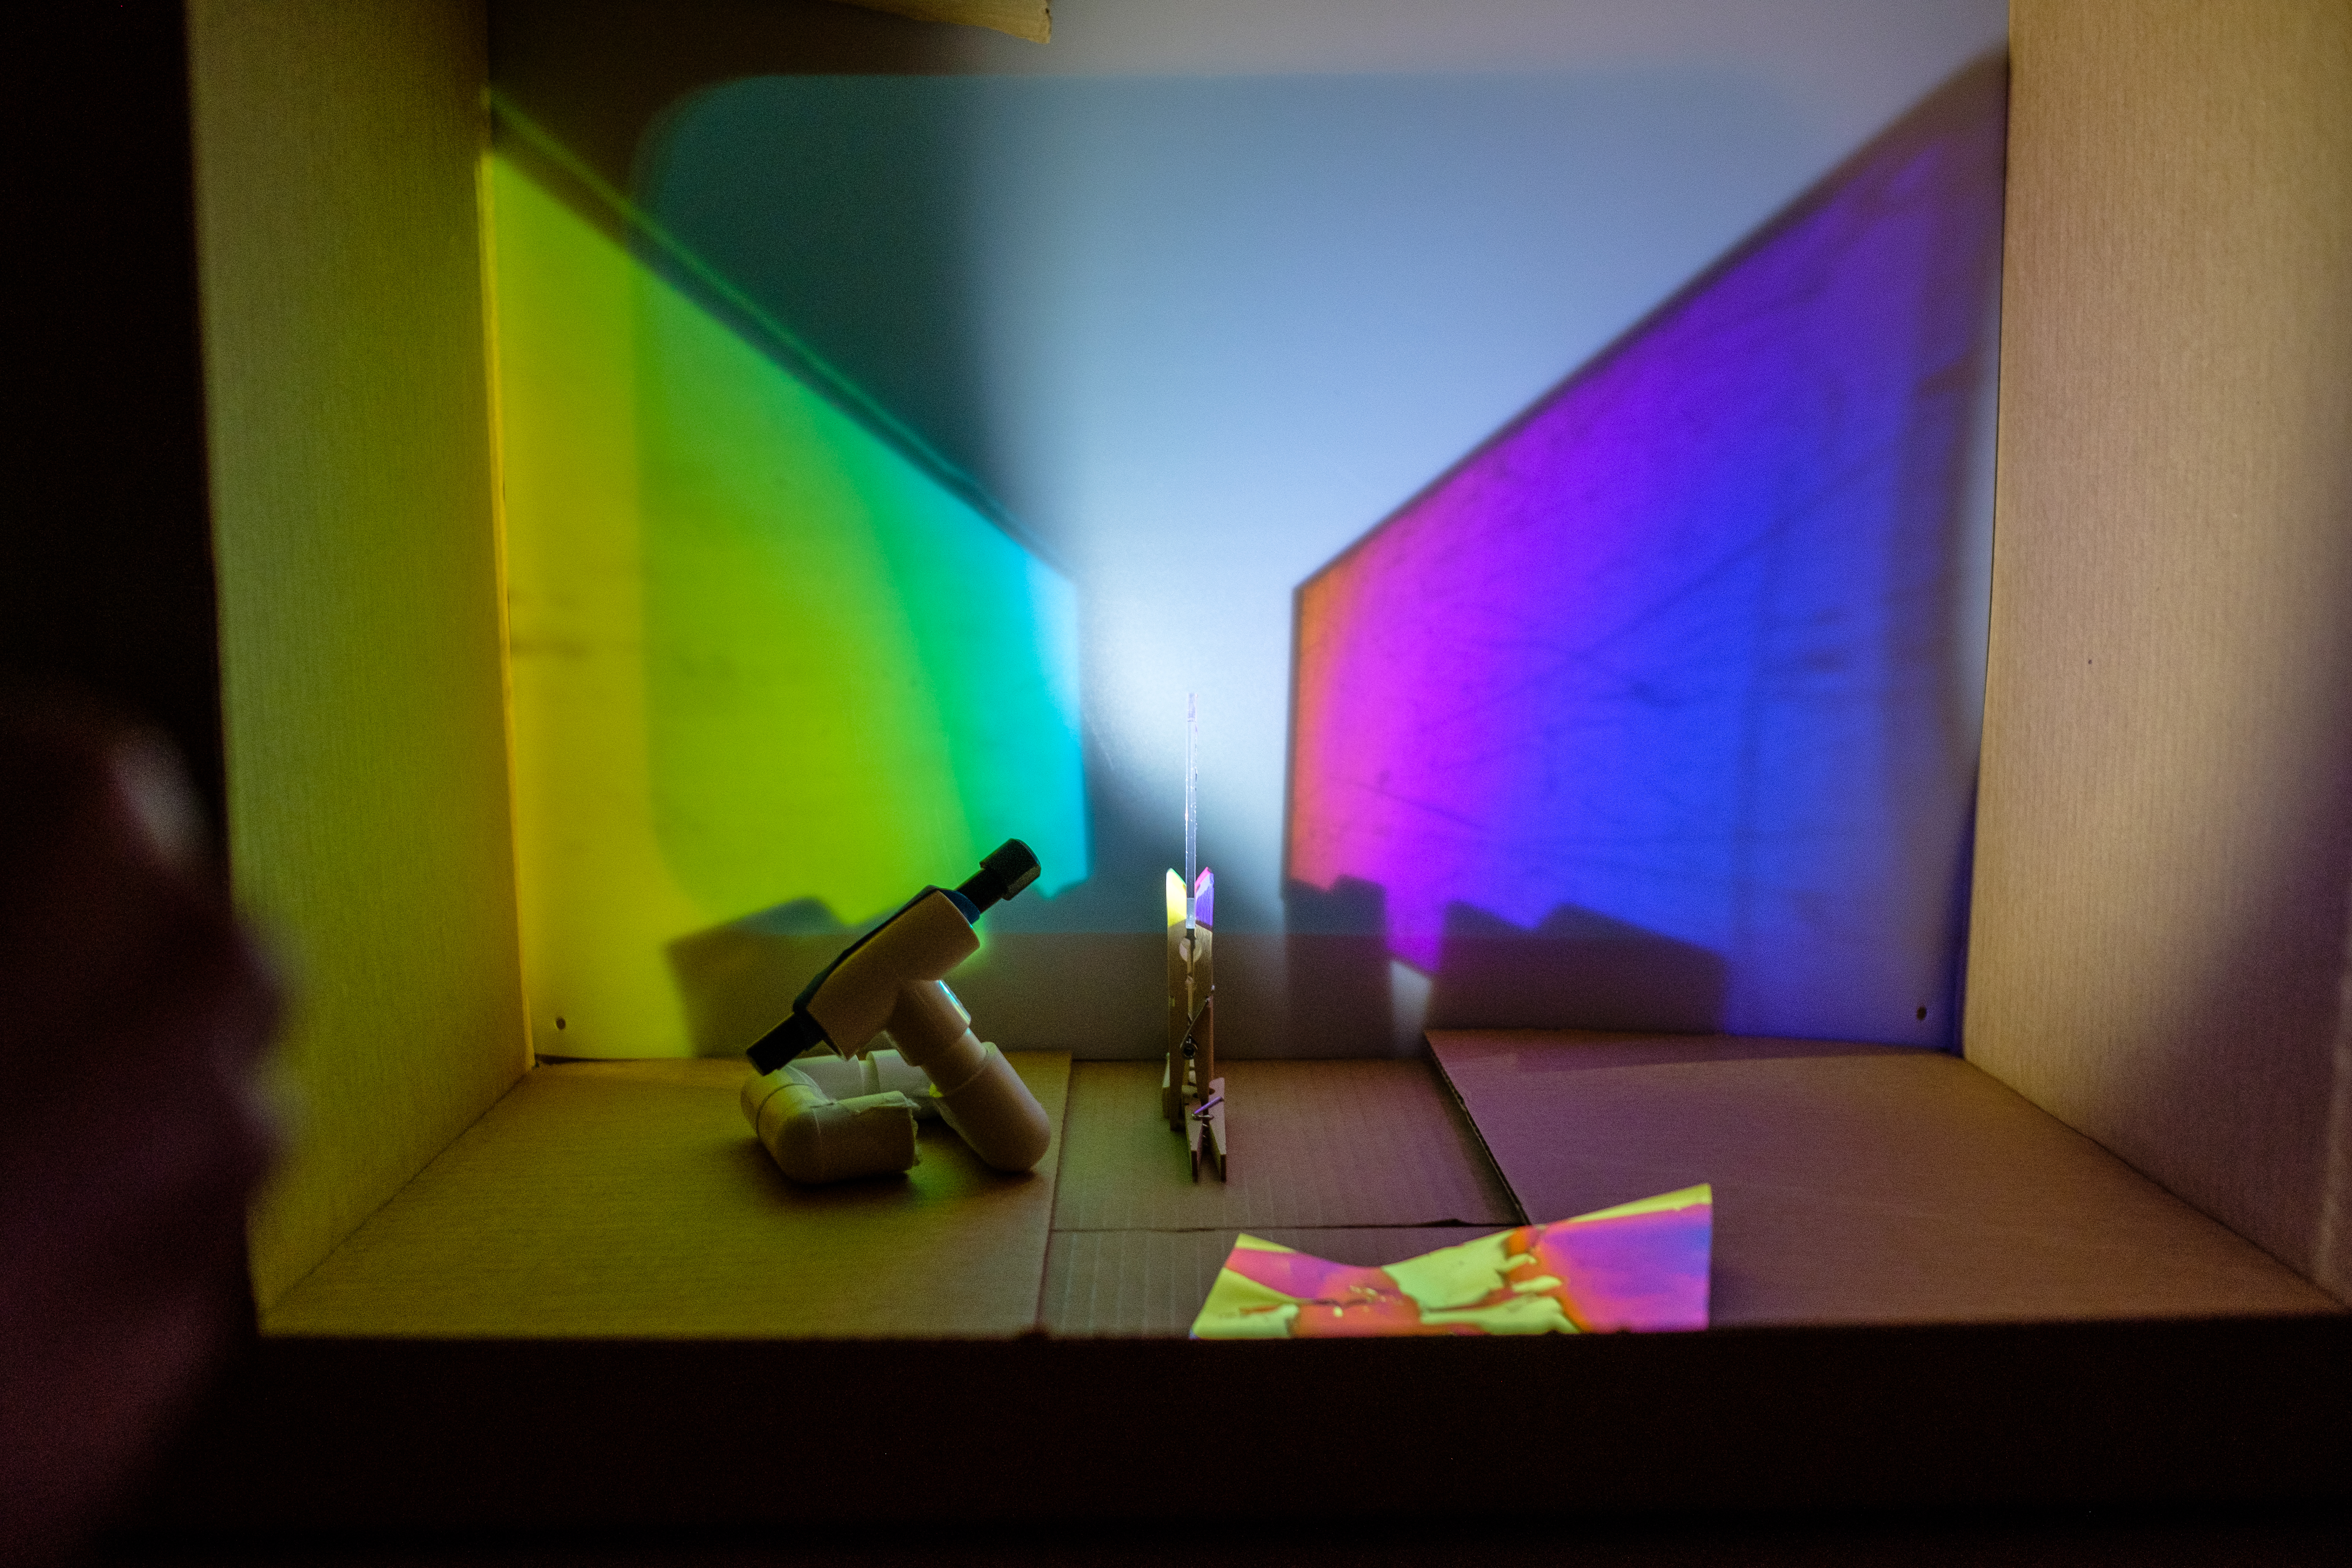
One of our light sources in action during a Light Play experience
I think it’s great to think so deeply about the things that we use in our tinkering activities however, the specificity of what we recommend can be challenging for others to replicate. Sometimes this is due to cost, or availability, or simply because folks are working in different environment and have different requirements.
So in this post, I want to share about the flashlights that we use in our Light & Shadow activities. I’ll share our ideal flashlight that we’ve been using for over a decade and still experimenting with, as well as a cheaper alternative that still works for our purposes.
Before we jump in to the specific flashlights, let’s talk about what we look for in a light source.
Single Point Light Source - this is the most important consideration when we are looking for light sources. A single point light source is means that there is one light emitter in the flashlight. Usually this is one bright LED. Have a look at the flashlights and light sources in your life, many flashlights are actually an array of multiple LEDs, rather than one single LED. A single light source is important because we can get really crisp and clear projections or shadows. We don’t like fuzzy shadows.
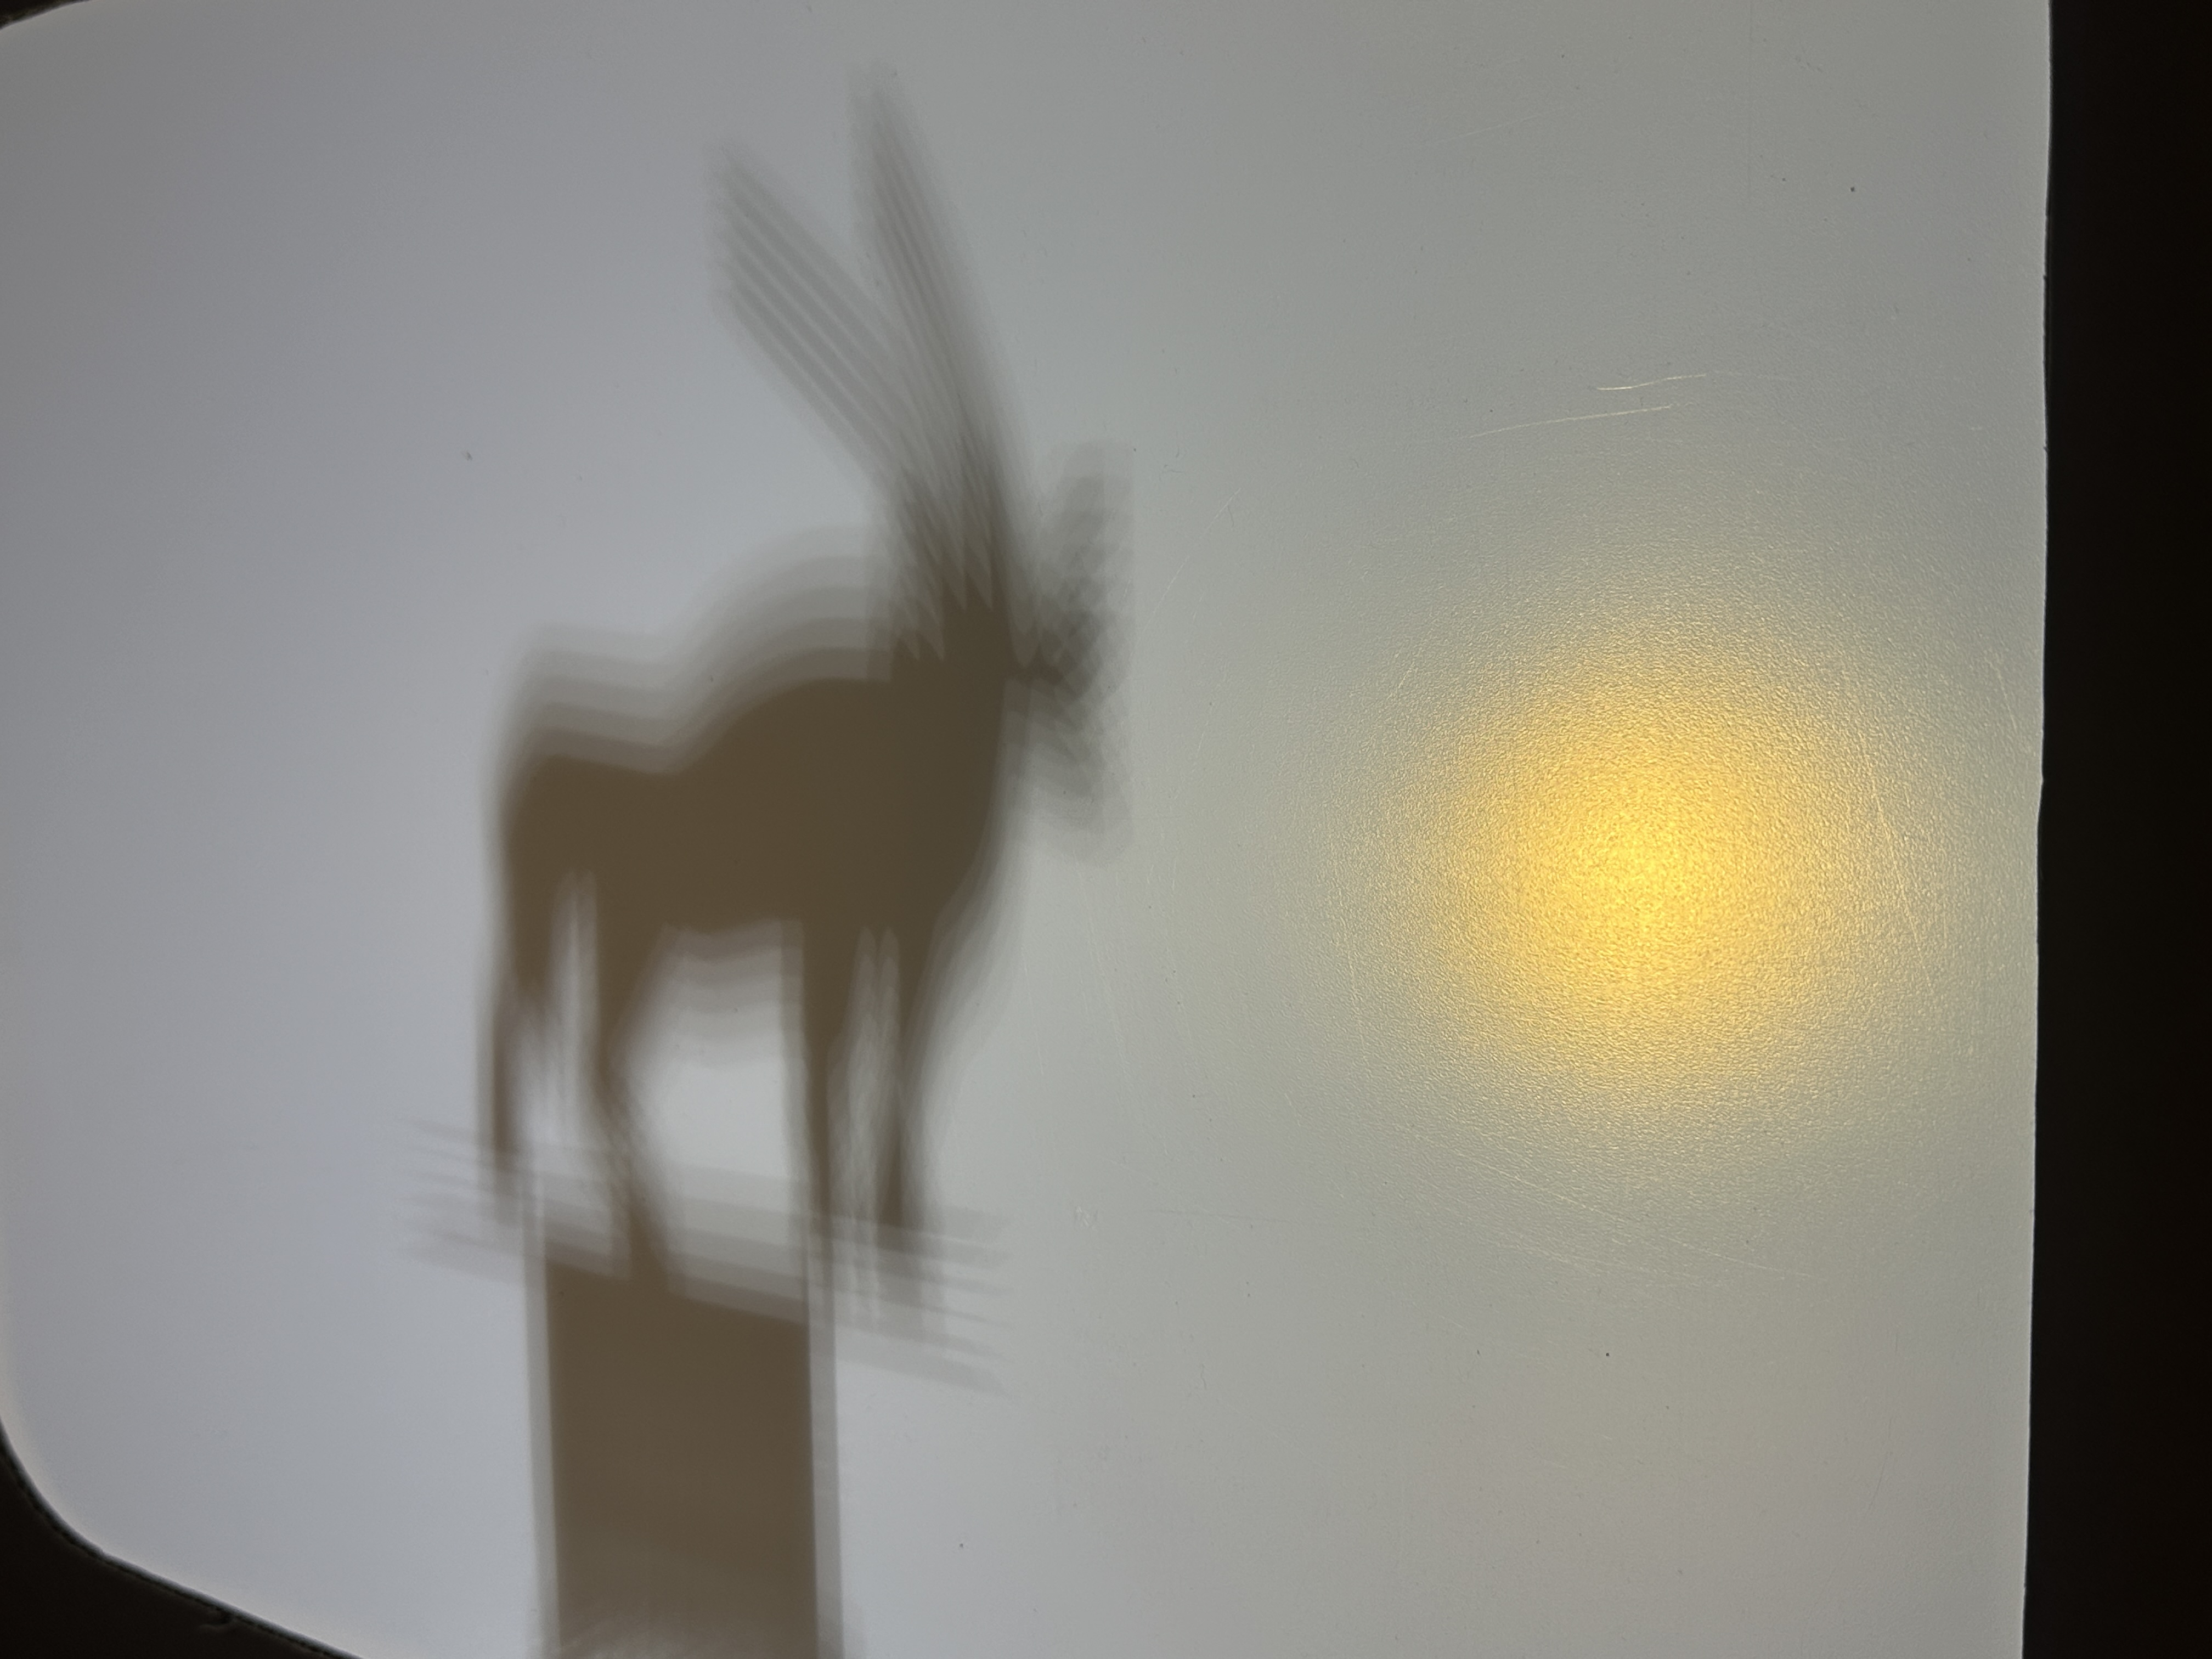
Fuzzy shadow cast with a multi point light source
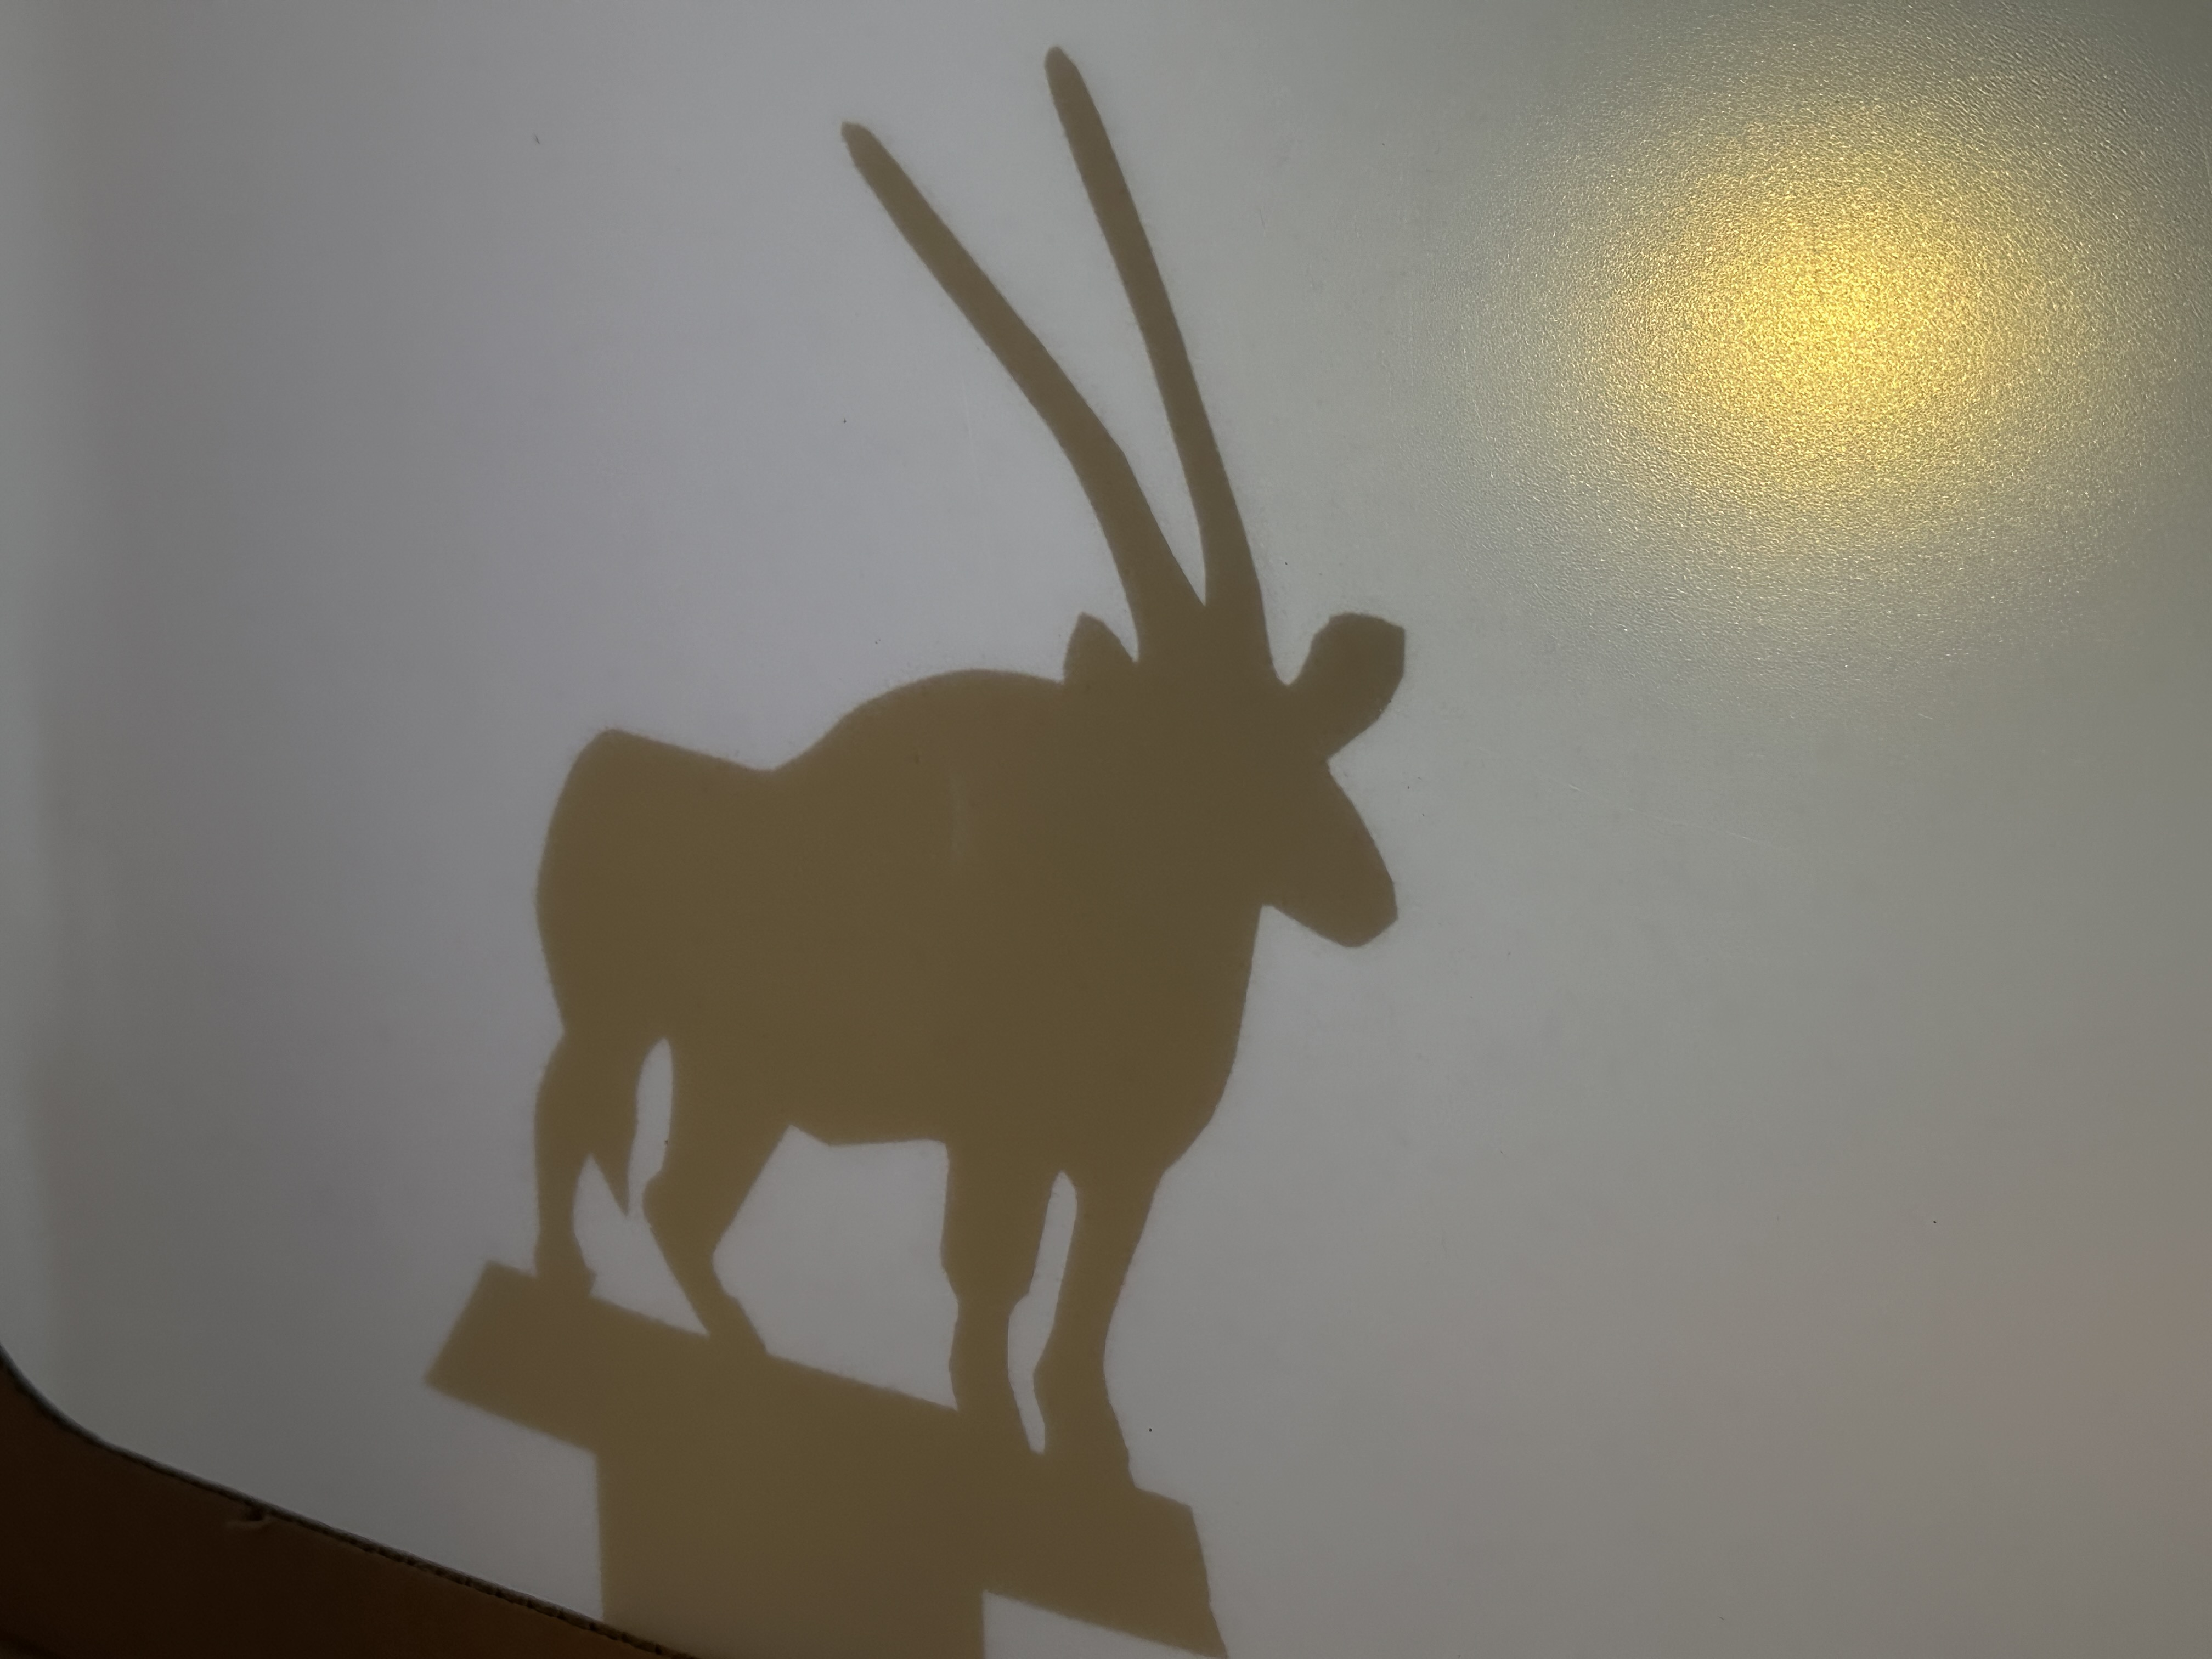
Crisp shadow cast with a single point light source
Color - a white light should be just that, white. Not too cool and blue, and not too warm and yellow.
Brightness - we don’t need our light sources to be blindingly bright but we want them to emit a strong light. Importantly, if we’re using multiple light sources (eg. white light as well as red, green and blue lights), we want them all to be a similar brightness.
Size - because we use these light sources inside our Light Play boxes, we want reasonably slim and compact light sources.
On/Off Switch - an easily accessible on/off switch, ideally at the end of the flashlight, is very very handy.
Battery powered - we use dozens of flashlights during any facilitation. I don’t want to mess with charging that many flashlights every time.
The mini maglite:

The mini maglite has been our go to light source for our Light & Shadow experiences for years. It ticks almost all of the boxes listed above, and most importantly, casts the best light that we’ve been able to find. In the US, they’re pretty easy to get however they are expensive, usually retailing for $20-$25 each.
We love them but there are two main issues with them. These issues occur because to get that clear, crisp, single point light, we need to take off the lens and lens cover that comes on the mini maglite. This lens cover happens to serve two purposes on the mini maglite. It covers the LED, protecting it from getting damaged, and it acts as the on/off switch, allowing you to easily turn the flashlight on and off. By removing the lens cap to get the clear light, we create two new problems to solve.
Historically, we haven’t had a particularly complex solution. We’ve let the LED be exposed, and instead of using the lens cap as the on/off switch, we’ve ever so delicately loosened the battery cap to the point where it disconnects so that the battery isn’t connected any more. Neither of these solutions are ideal, in particular, the battery cap finessing; It’s very annoying, temperamental, and not-at-all intuitive for our participants. Additionally, having the LED exposed, meant that we were losing anywhere from 1-5 maglites per workshop. They broke if they were dropped, knocked, or if they were placed too close to another material.
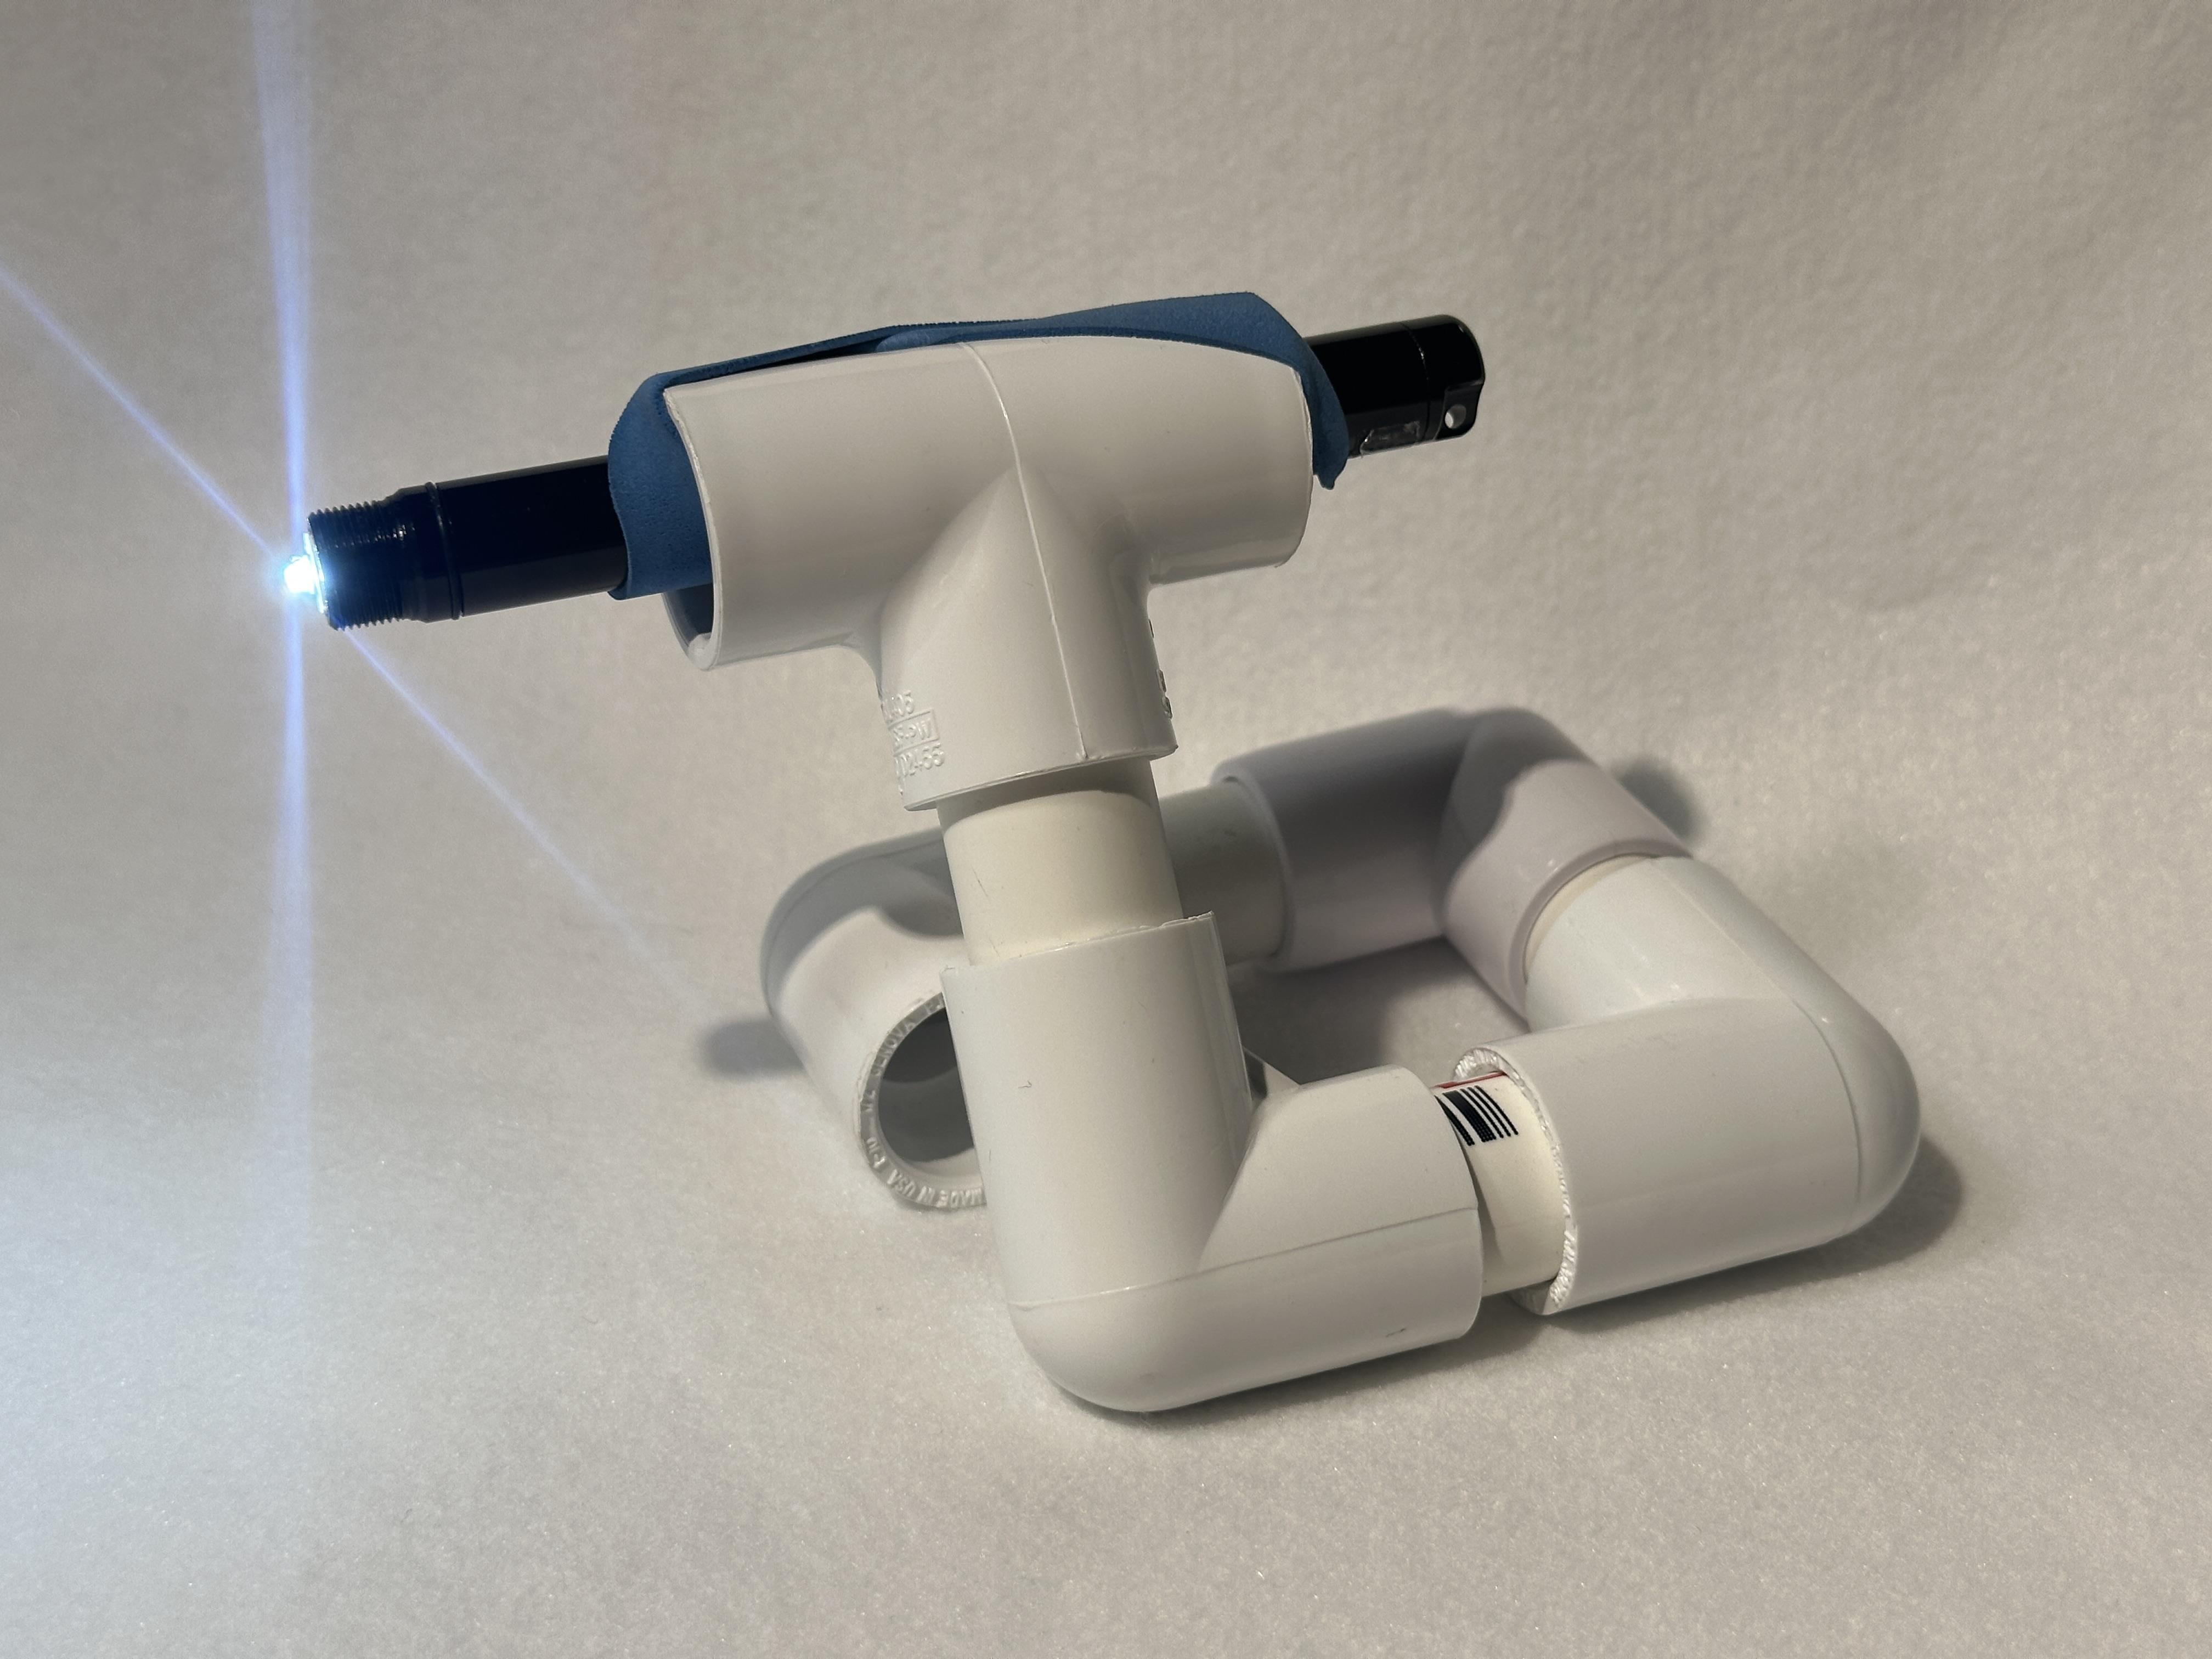
The mini maglite in our PVC pipe holder with an exposed LED
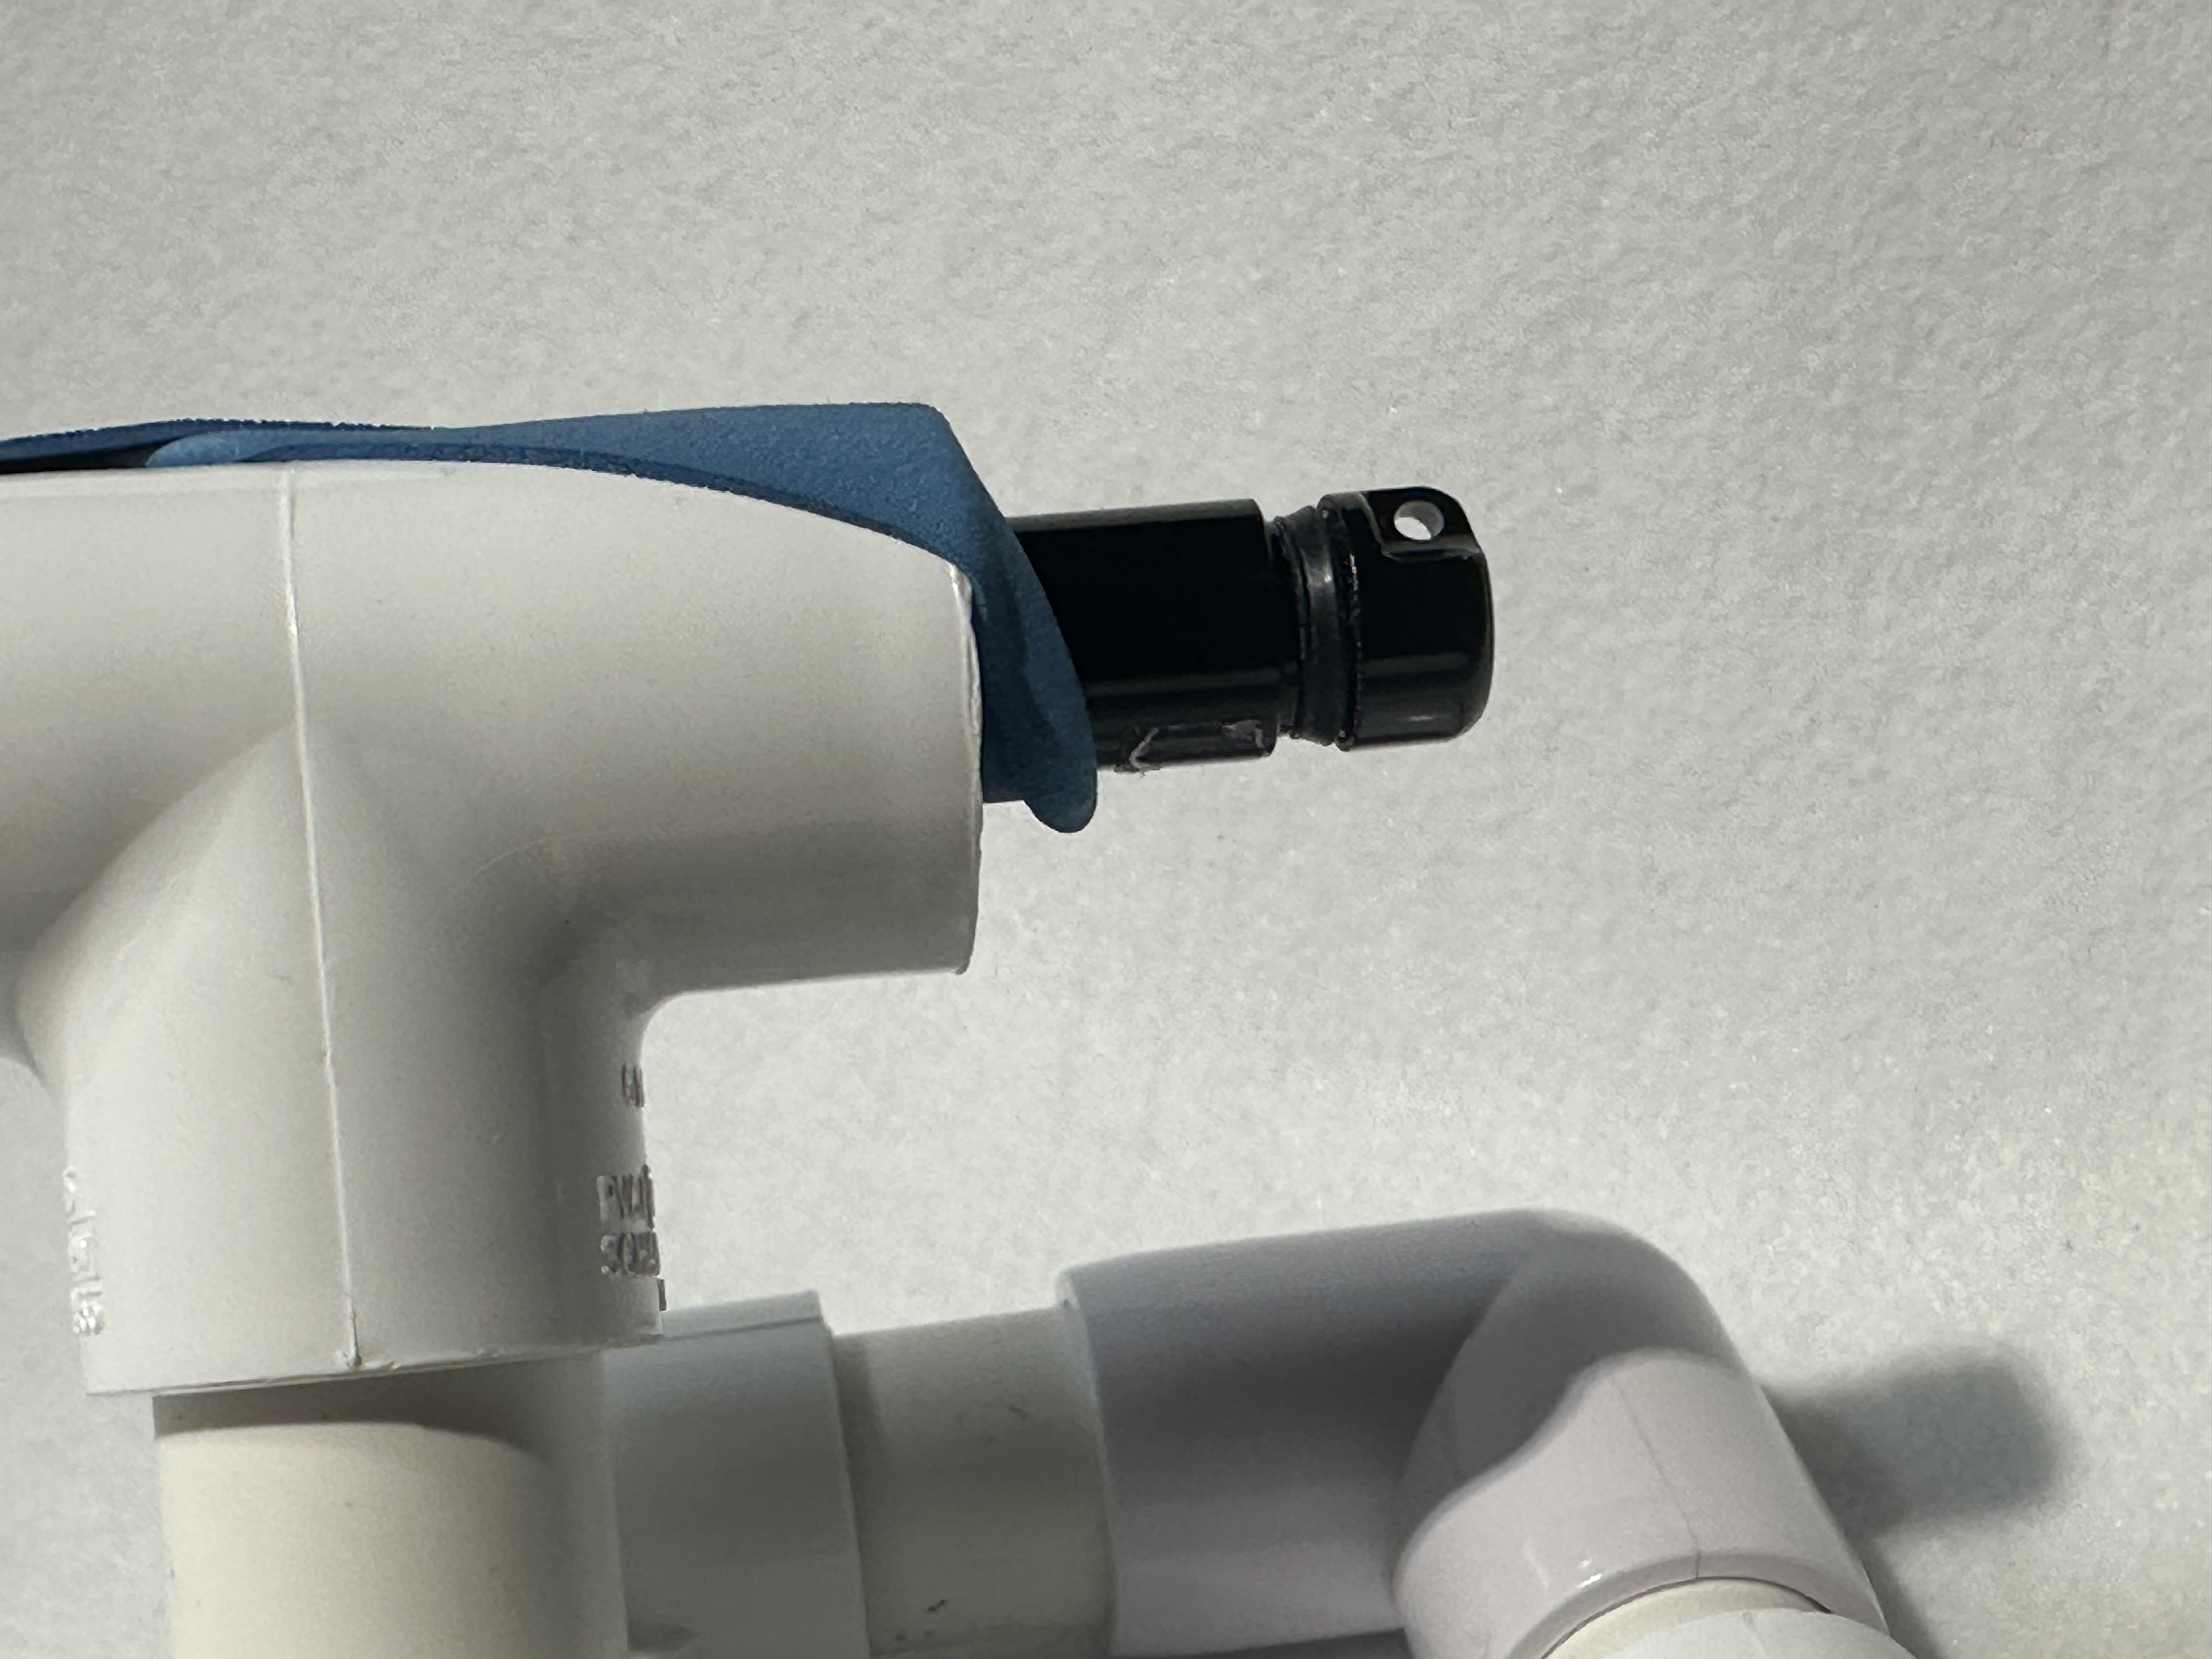
The battery cap ever so slightly unscrewed to act as our on/off switch
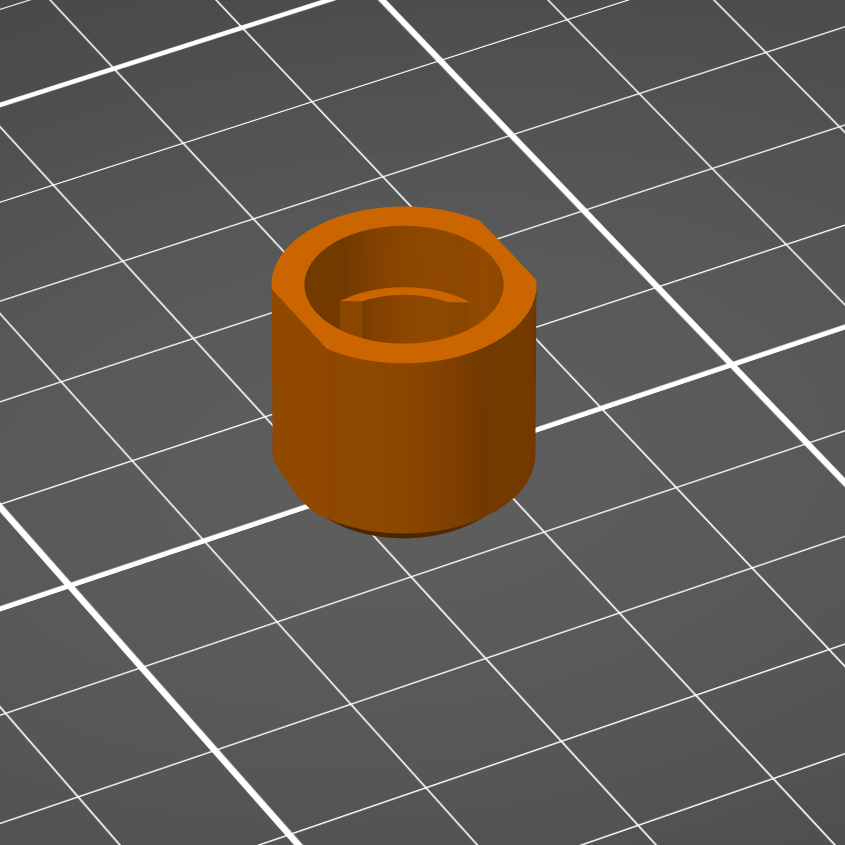
So recently, we decided to try and come up with a better solution to make our maglites last longer. After a fair bit of trial and error, we’ve come up with a 3D printed lens cap that has no lens. If you have access to a 3D printer, they’re easy to make, however there is a step of post-processing that you'll need to do. You can download the .stl file here.
Print Settings:
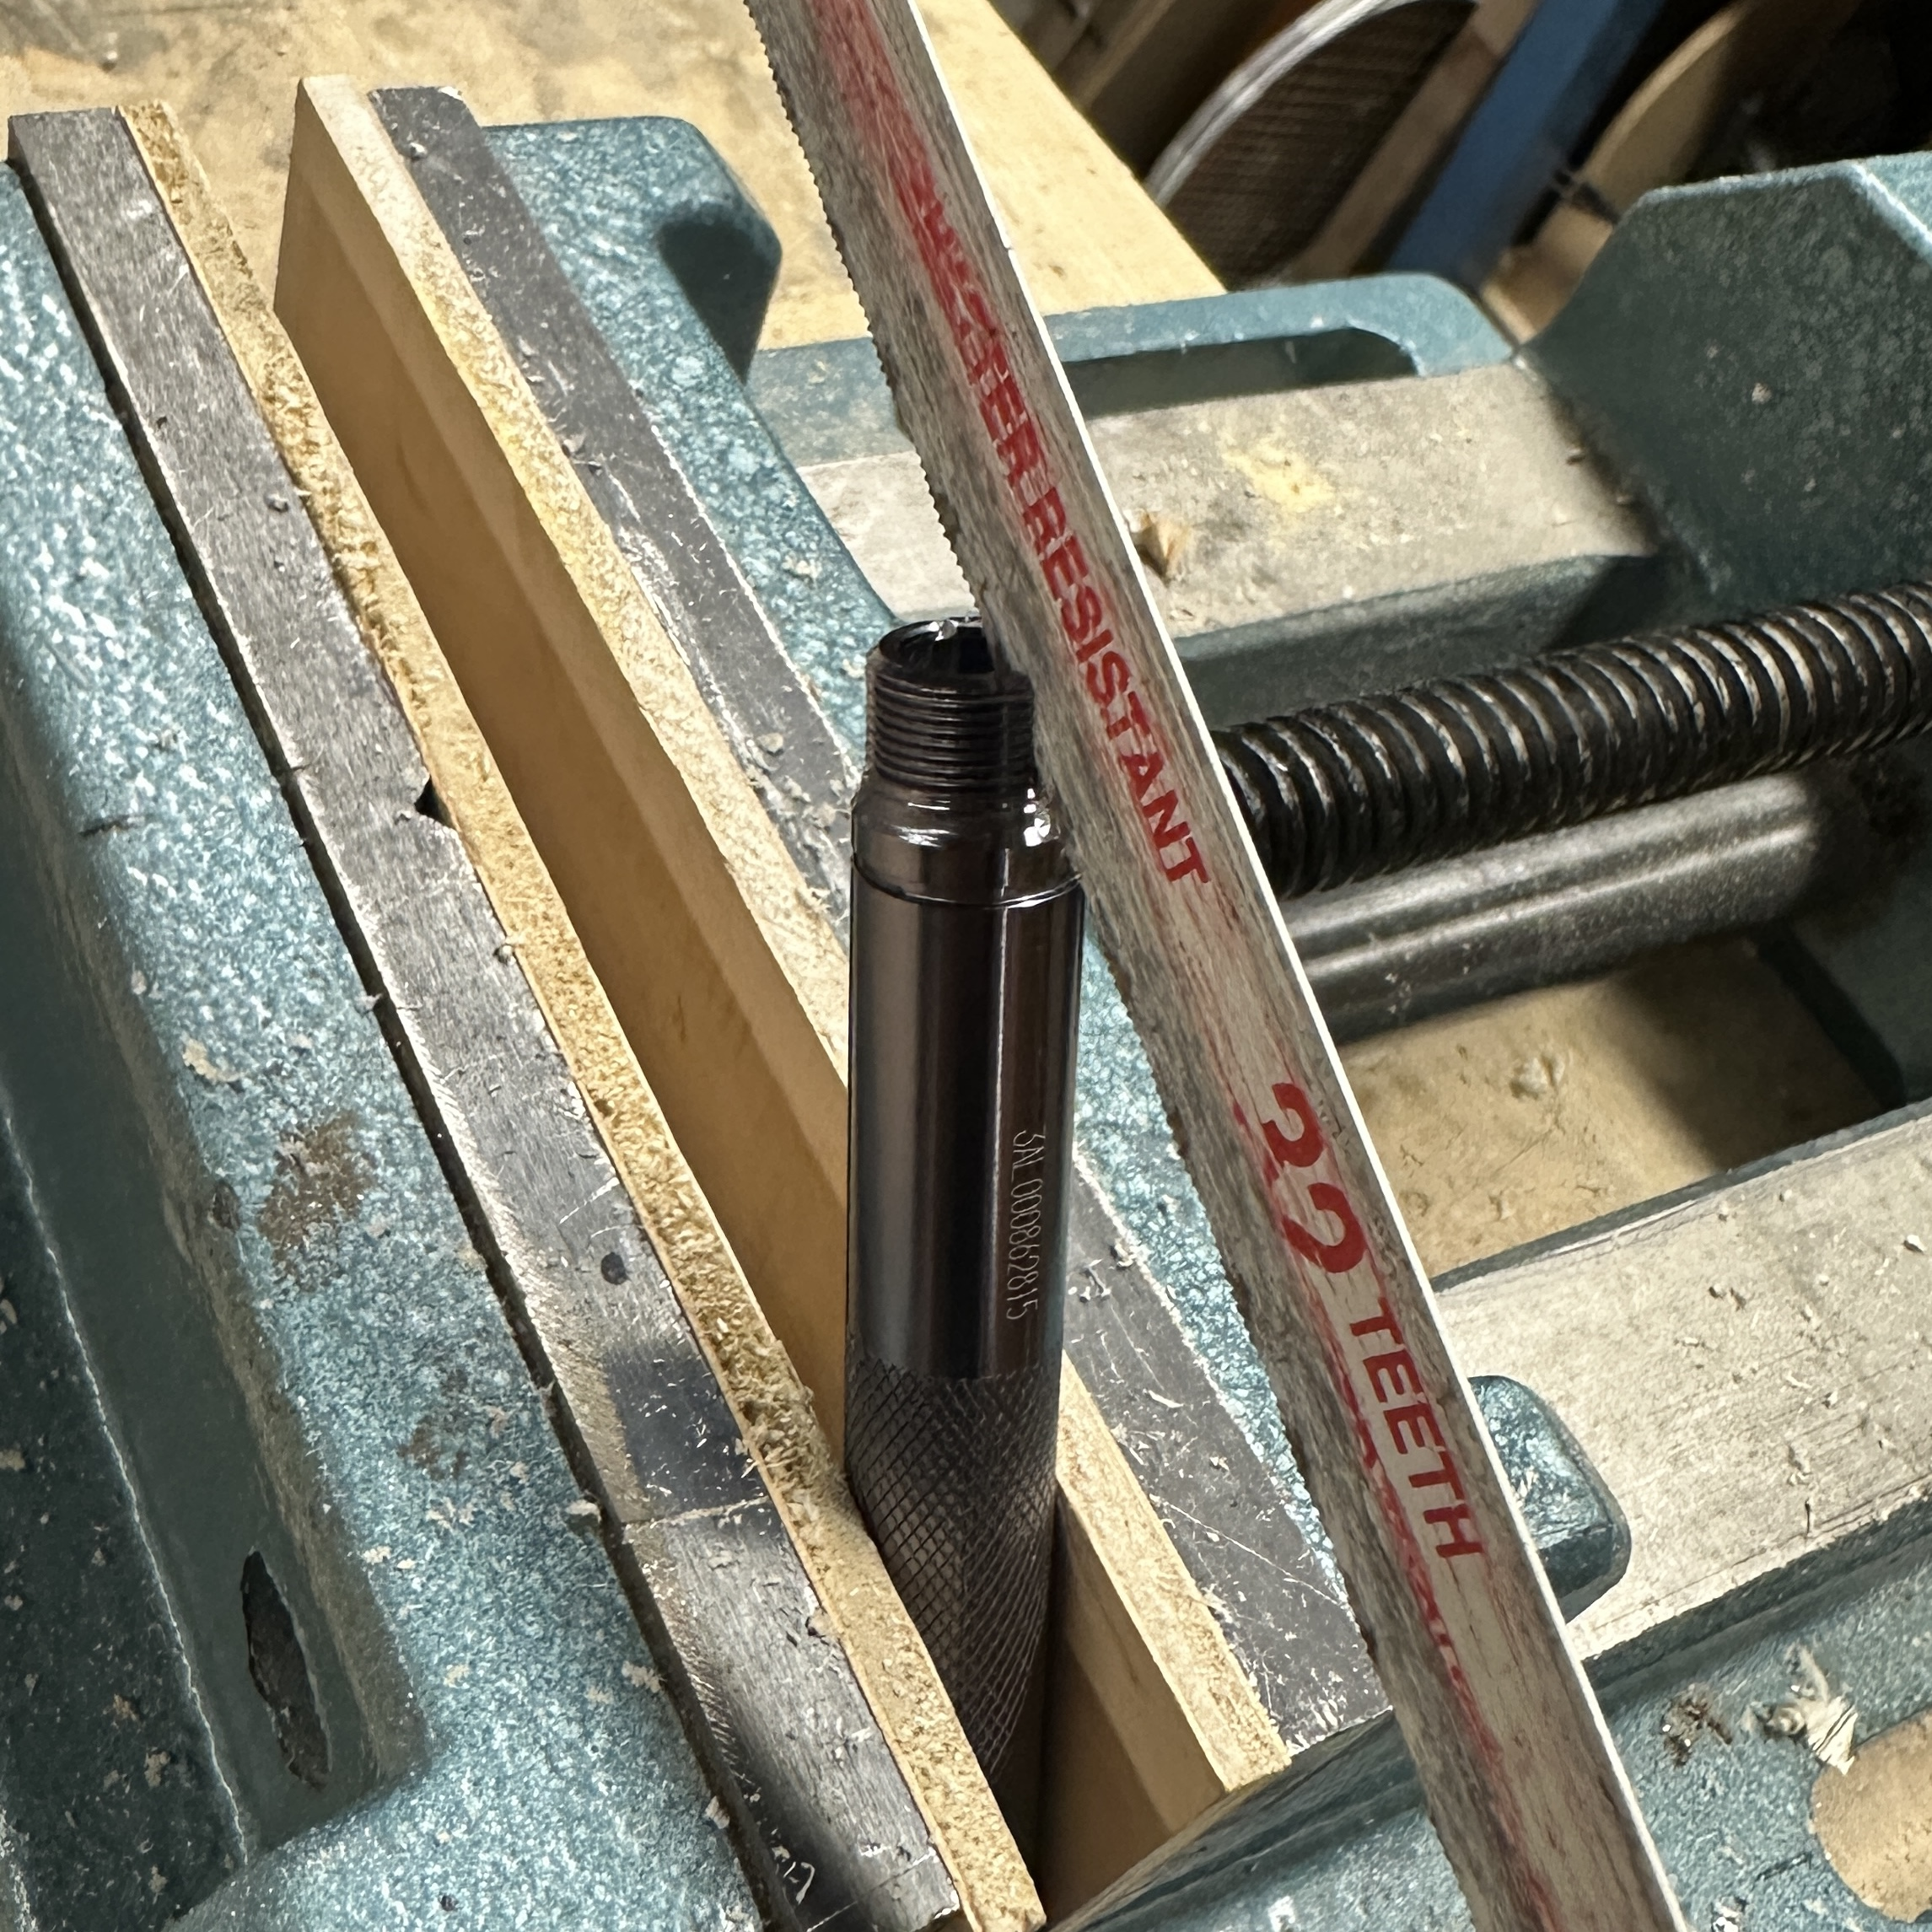
I recommend printing in PLA with the top face of the lens cap directly on the print bed, this way you don’t need any supports. And print with at least 4 wall layers (which probably means you’re printing at 100% infill for a piece this small). The thicker walls are necessary because the final step is to manually cut the threads into the 3D printed parts. These threads allow the lens cap to engage with the maglite and act as the switch. I’d love to have printed the threads but they’re so small that I can’t print in a resolution that is fine enough. Instead I’ve turned one of our broken mini maglites into a thread cutter however you could also use a maglite that is still functional.

In order to make this thread cutter, I popped the LED out of the maglite and used a hacksaw to cut a slit through the threaded end of the aluminium. This slit turns the maglite thread into a thread cutter and because the 3D printed PLA is so soft, it can easily be cut by the aluminium. I found it helpful to use clamps or pliers to hold either the 3D printed part or the thread cutting maglite while cutting the thread.
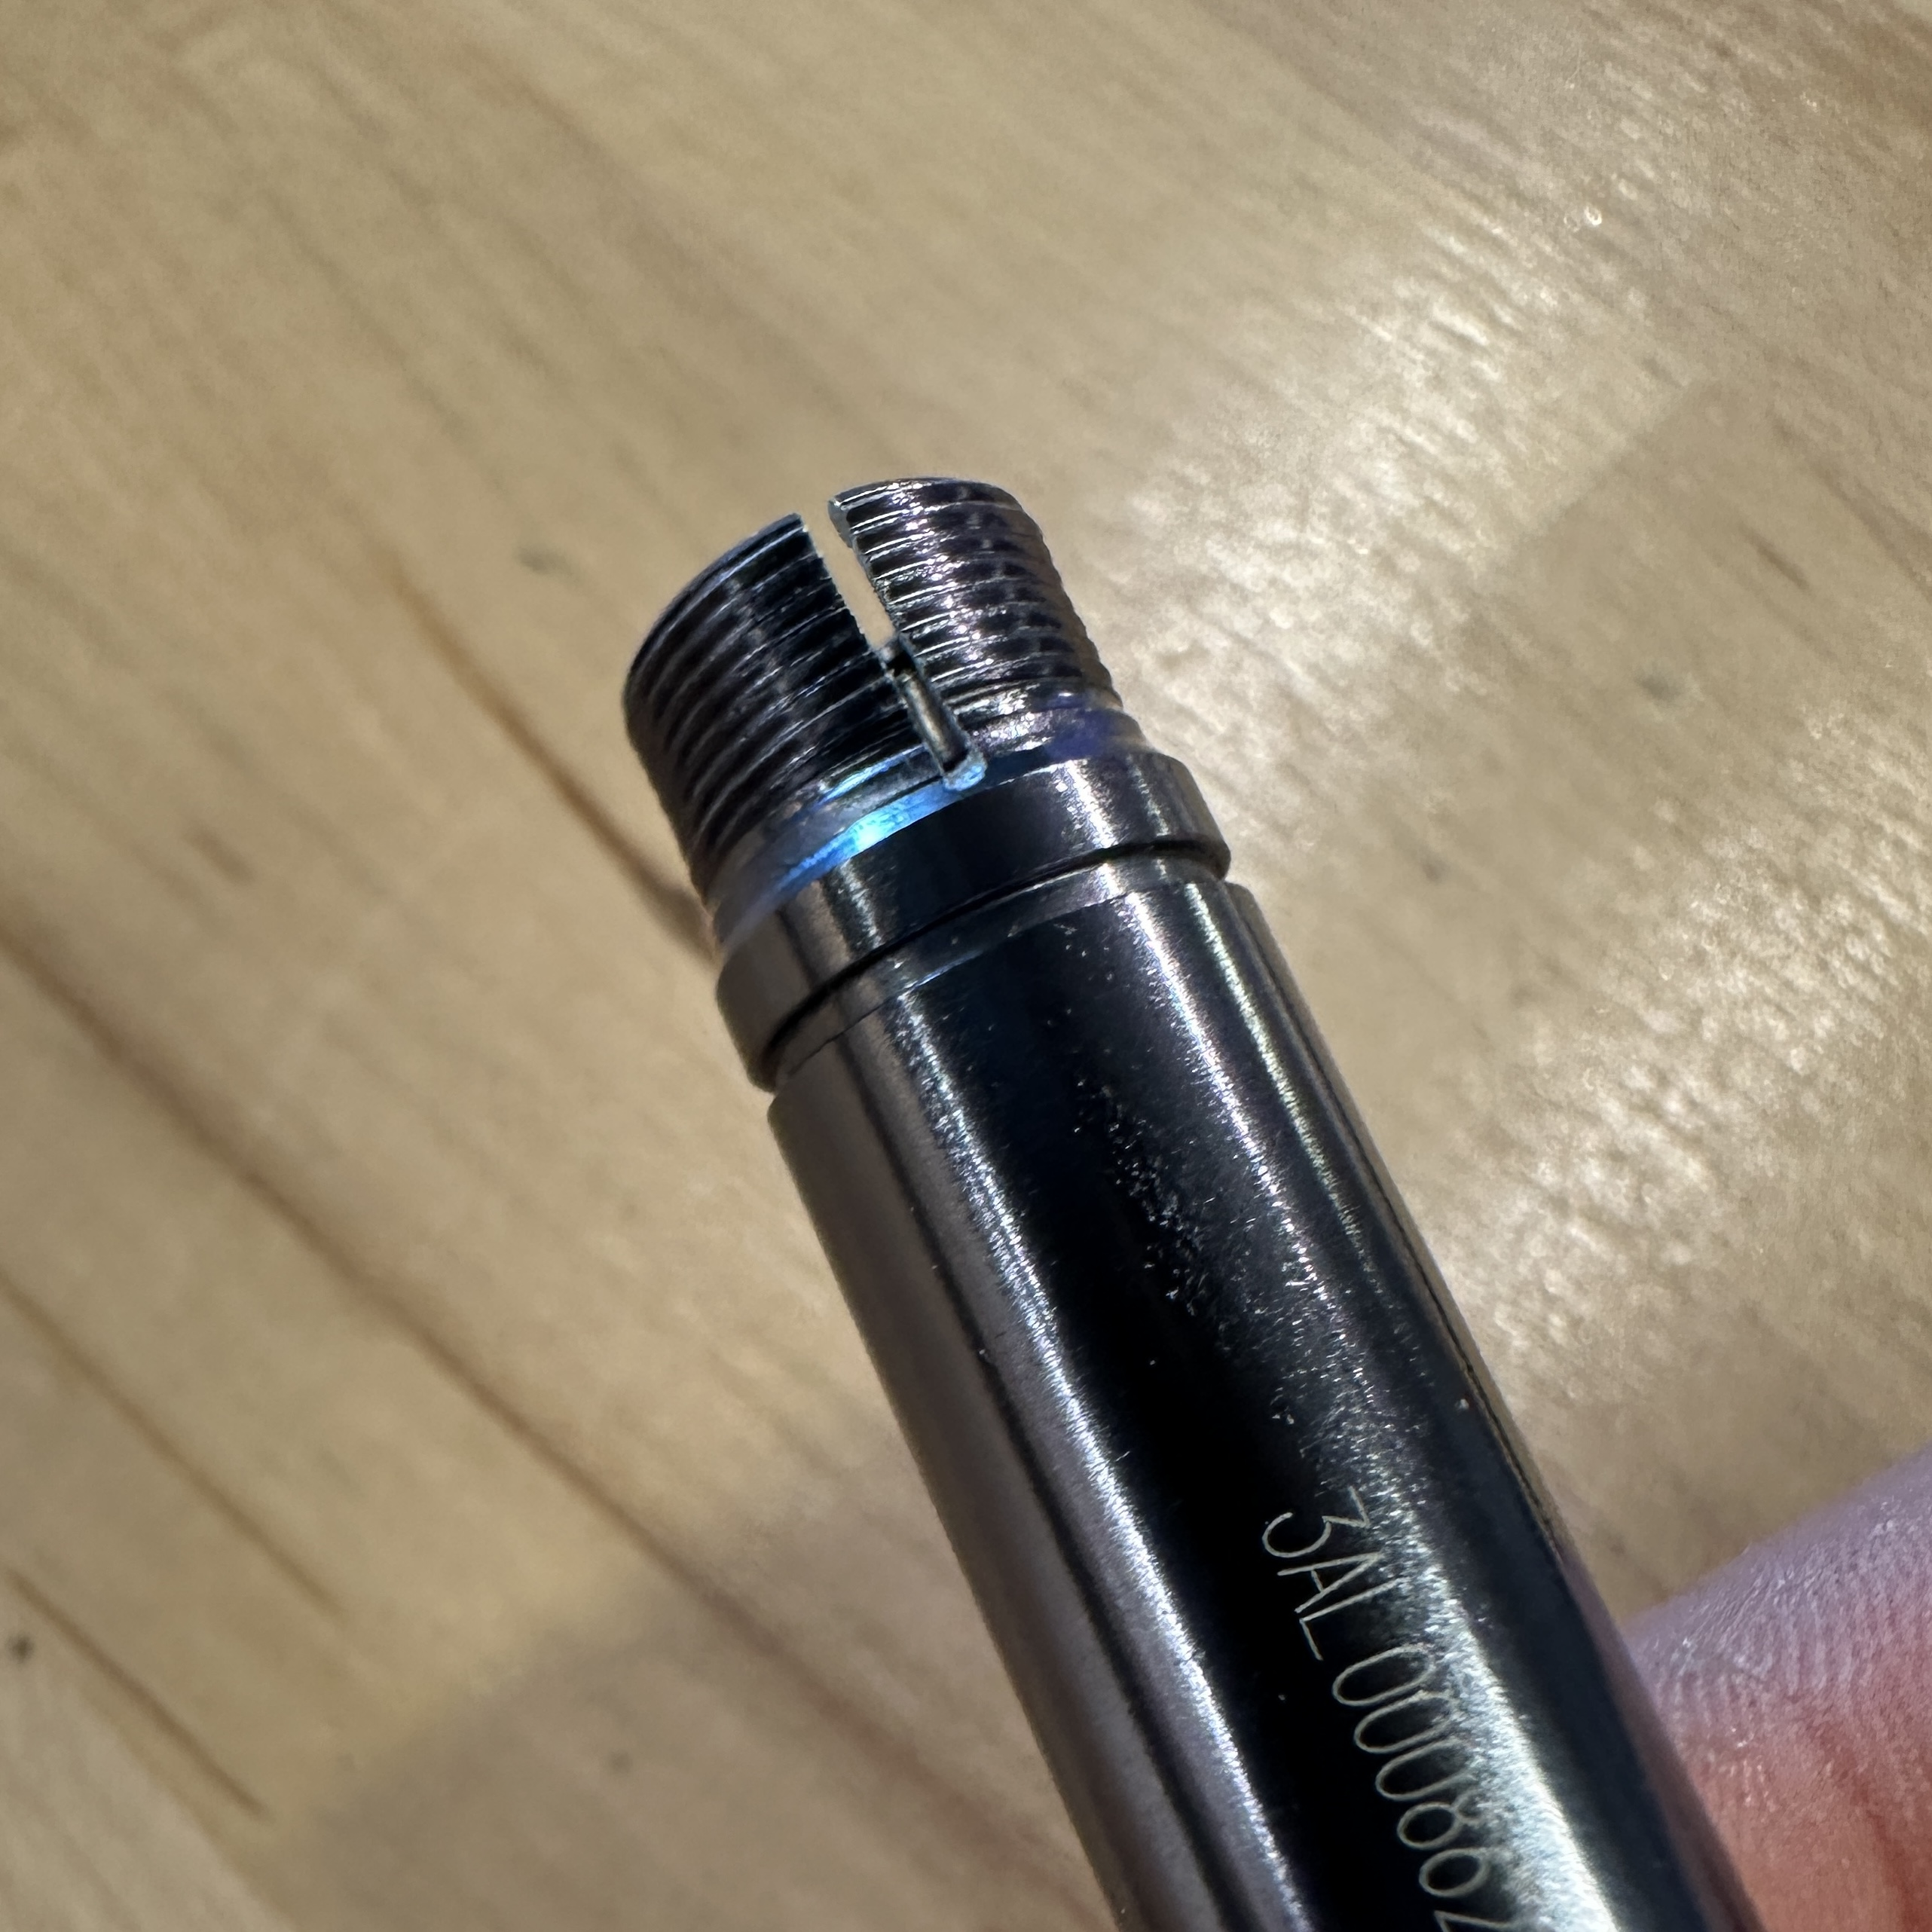
It’s our version 1.0 and I think there are improvements to be made, however so far, our 3D printed lens cap has been doing it’s job very well. One thing I’ve noticed is that the front face of the lens cap can sometimes get quite warm from the heat of the LED. This can lead to slight deformation of the cap, which in turn has meant that on one of the maglites, the cap deformed enough so that it no longer acted as a switch. I think a simple fix is to thicken the front face however I’ve yet to test this idea.
If you end up trying this solution, please let me know how it goes! I’d love a thinking partner to help iterate on this idea.
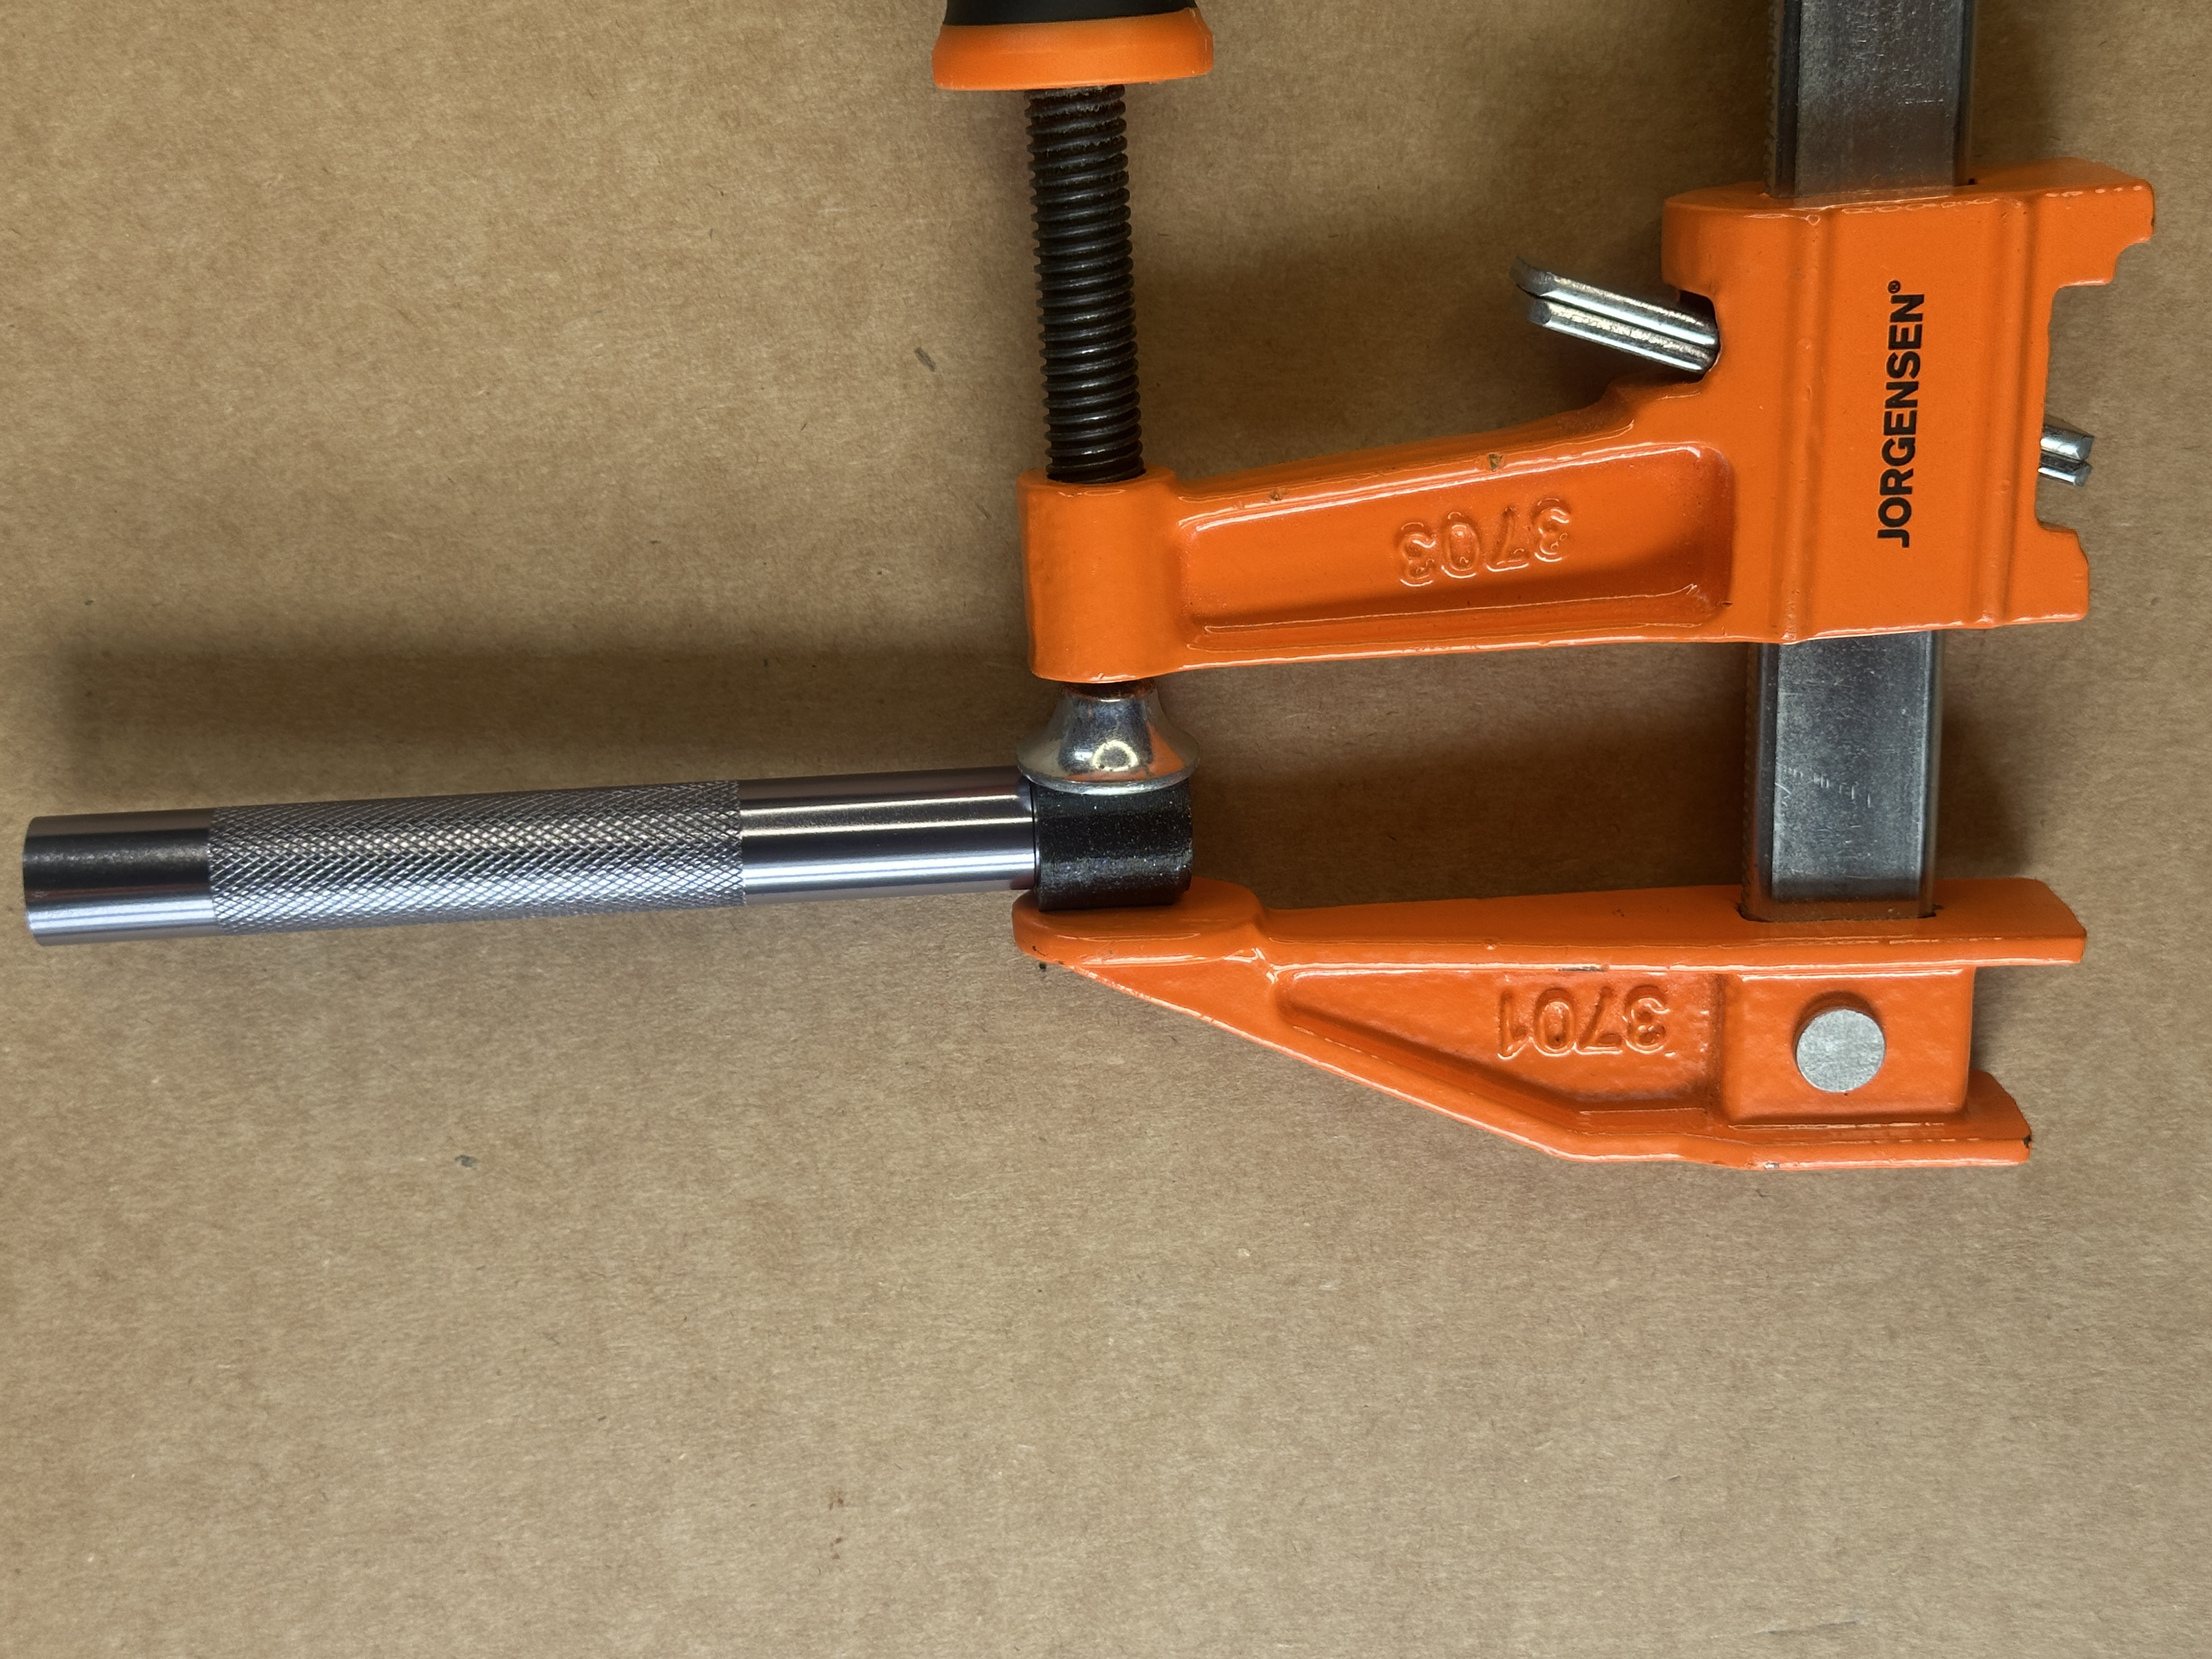
Holding the lens cap in a clamp while cutting the threads
The cheaper option:
Another option that we explored are these flashlights from Amazon. We like them because they are single point light sources, you can get them in white, red, blue, green, and UV light, they have a very handy on/off switch, and they are comparatively inexpensive ($28.00 for a multicolor pack of 5 or $14.00 for a pack of 3 white lights).
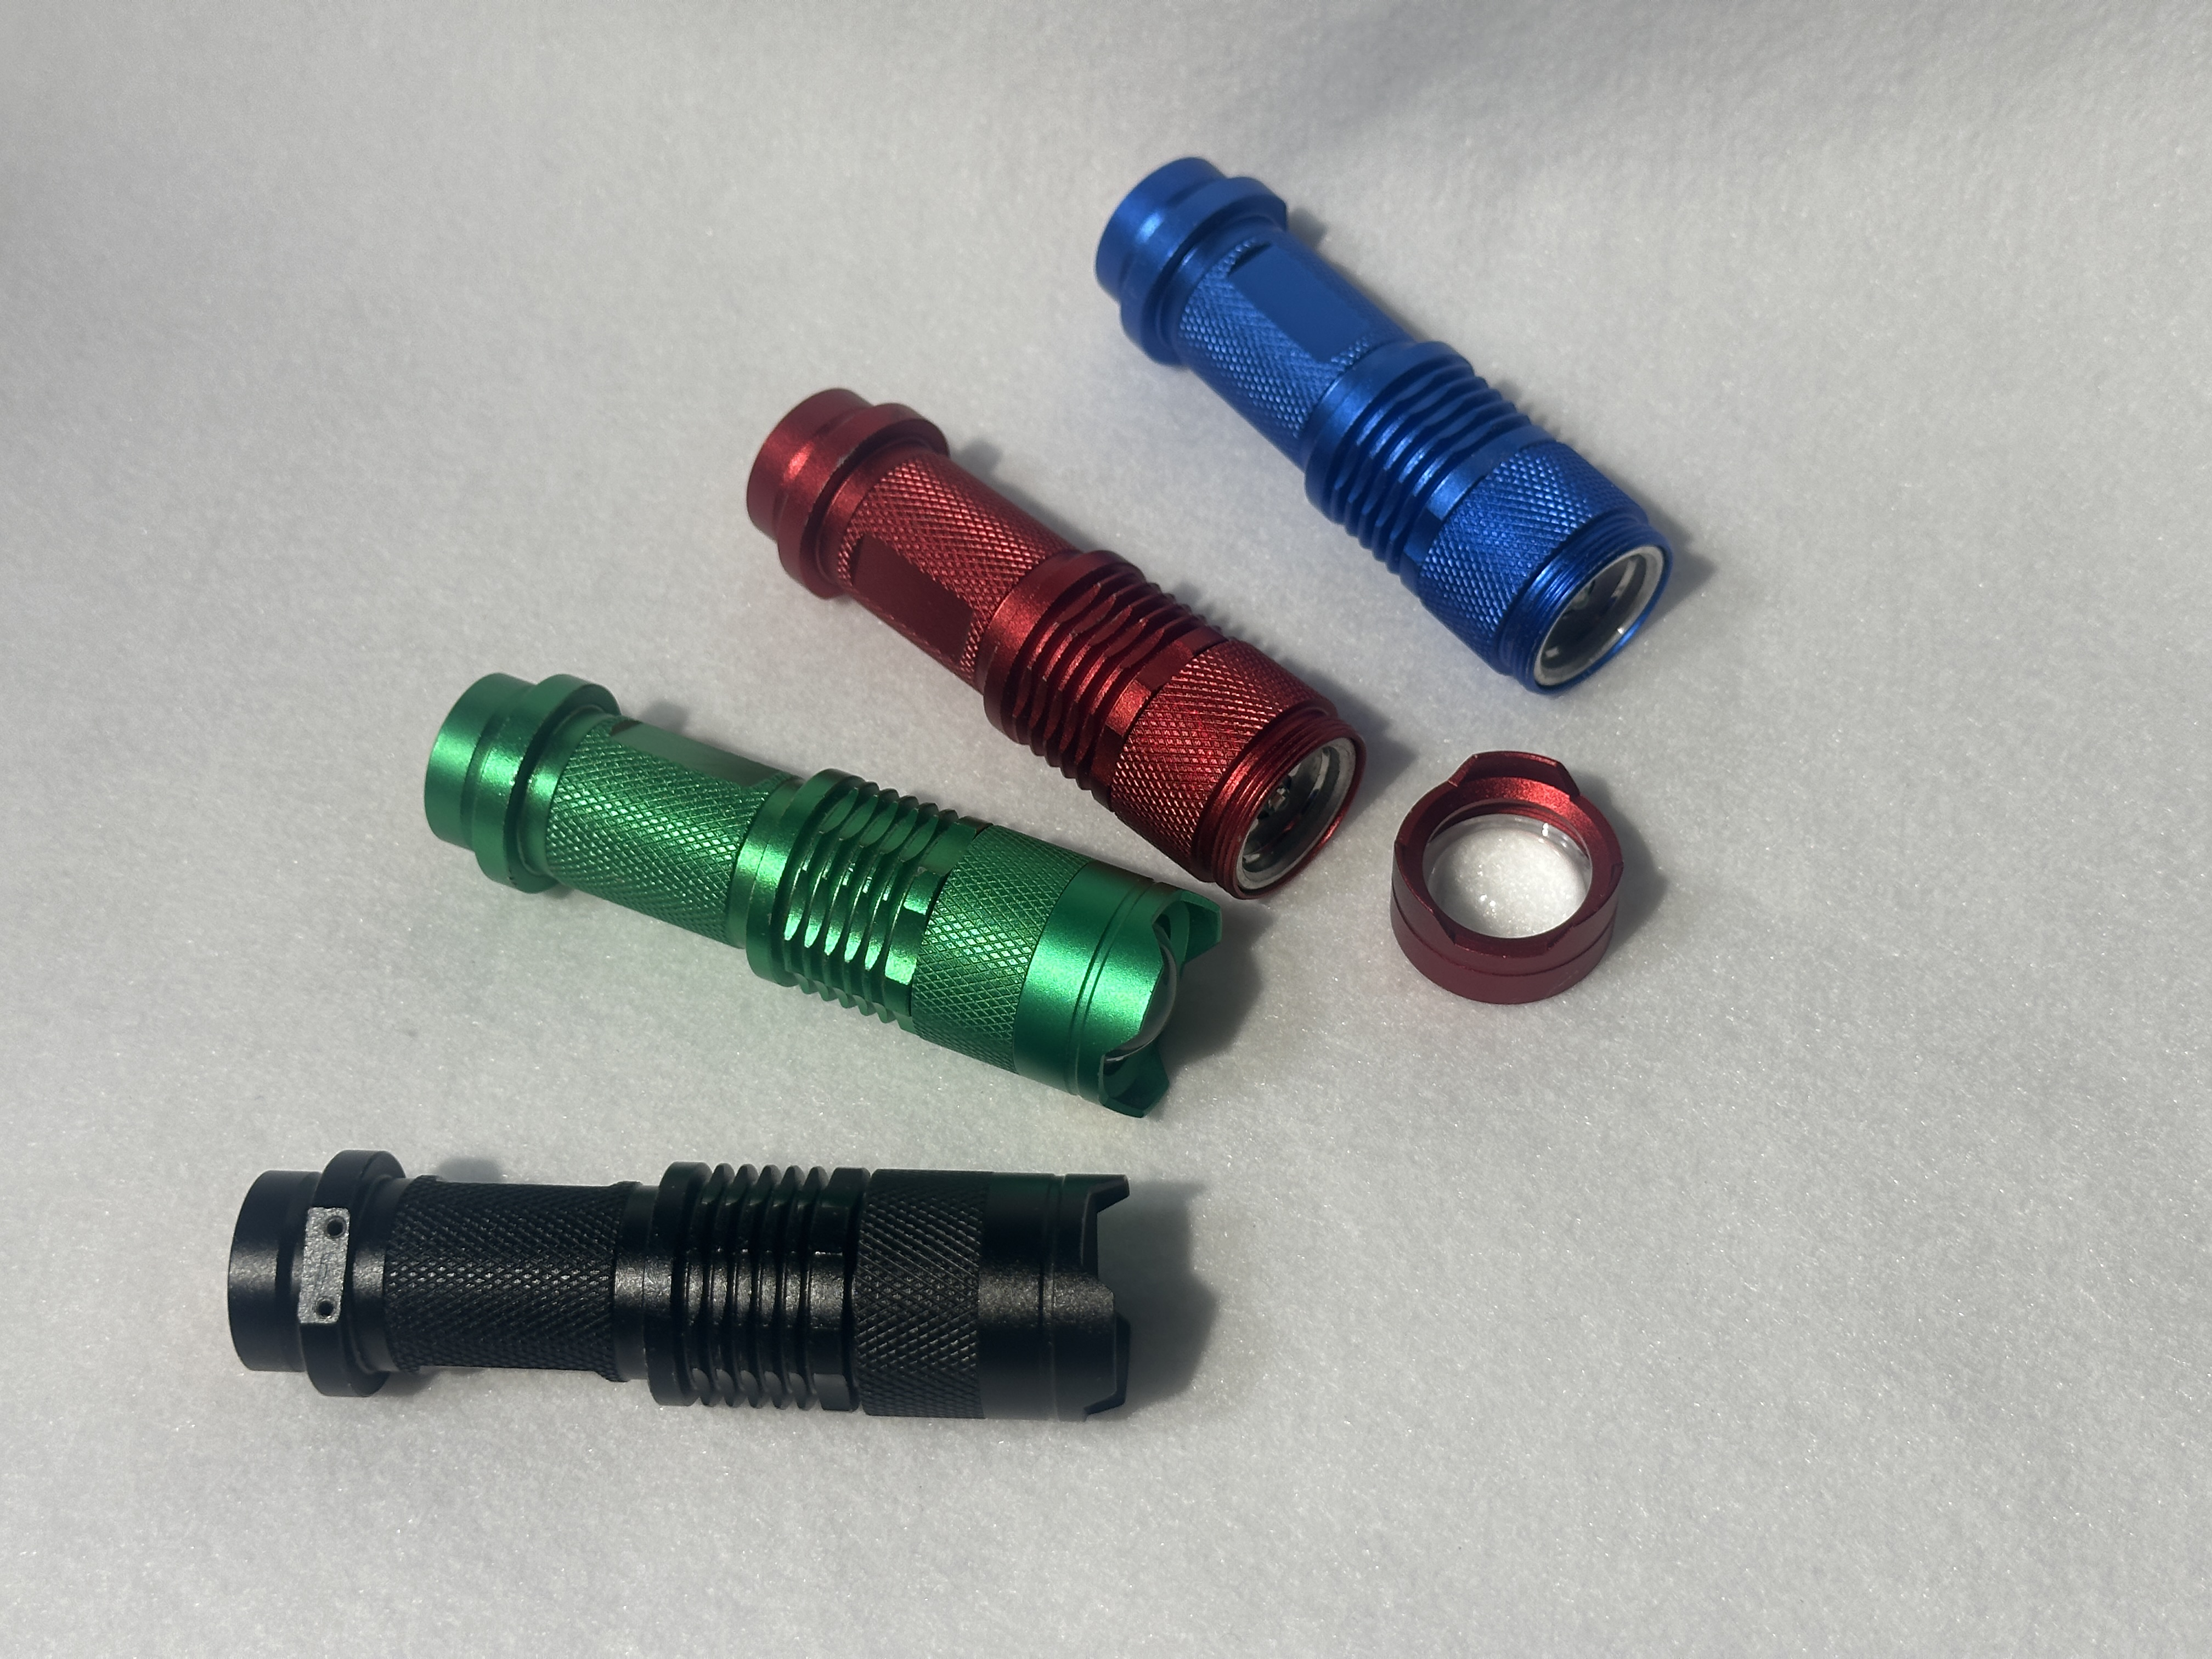
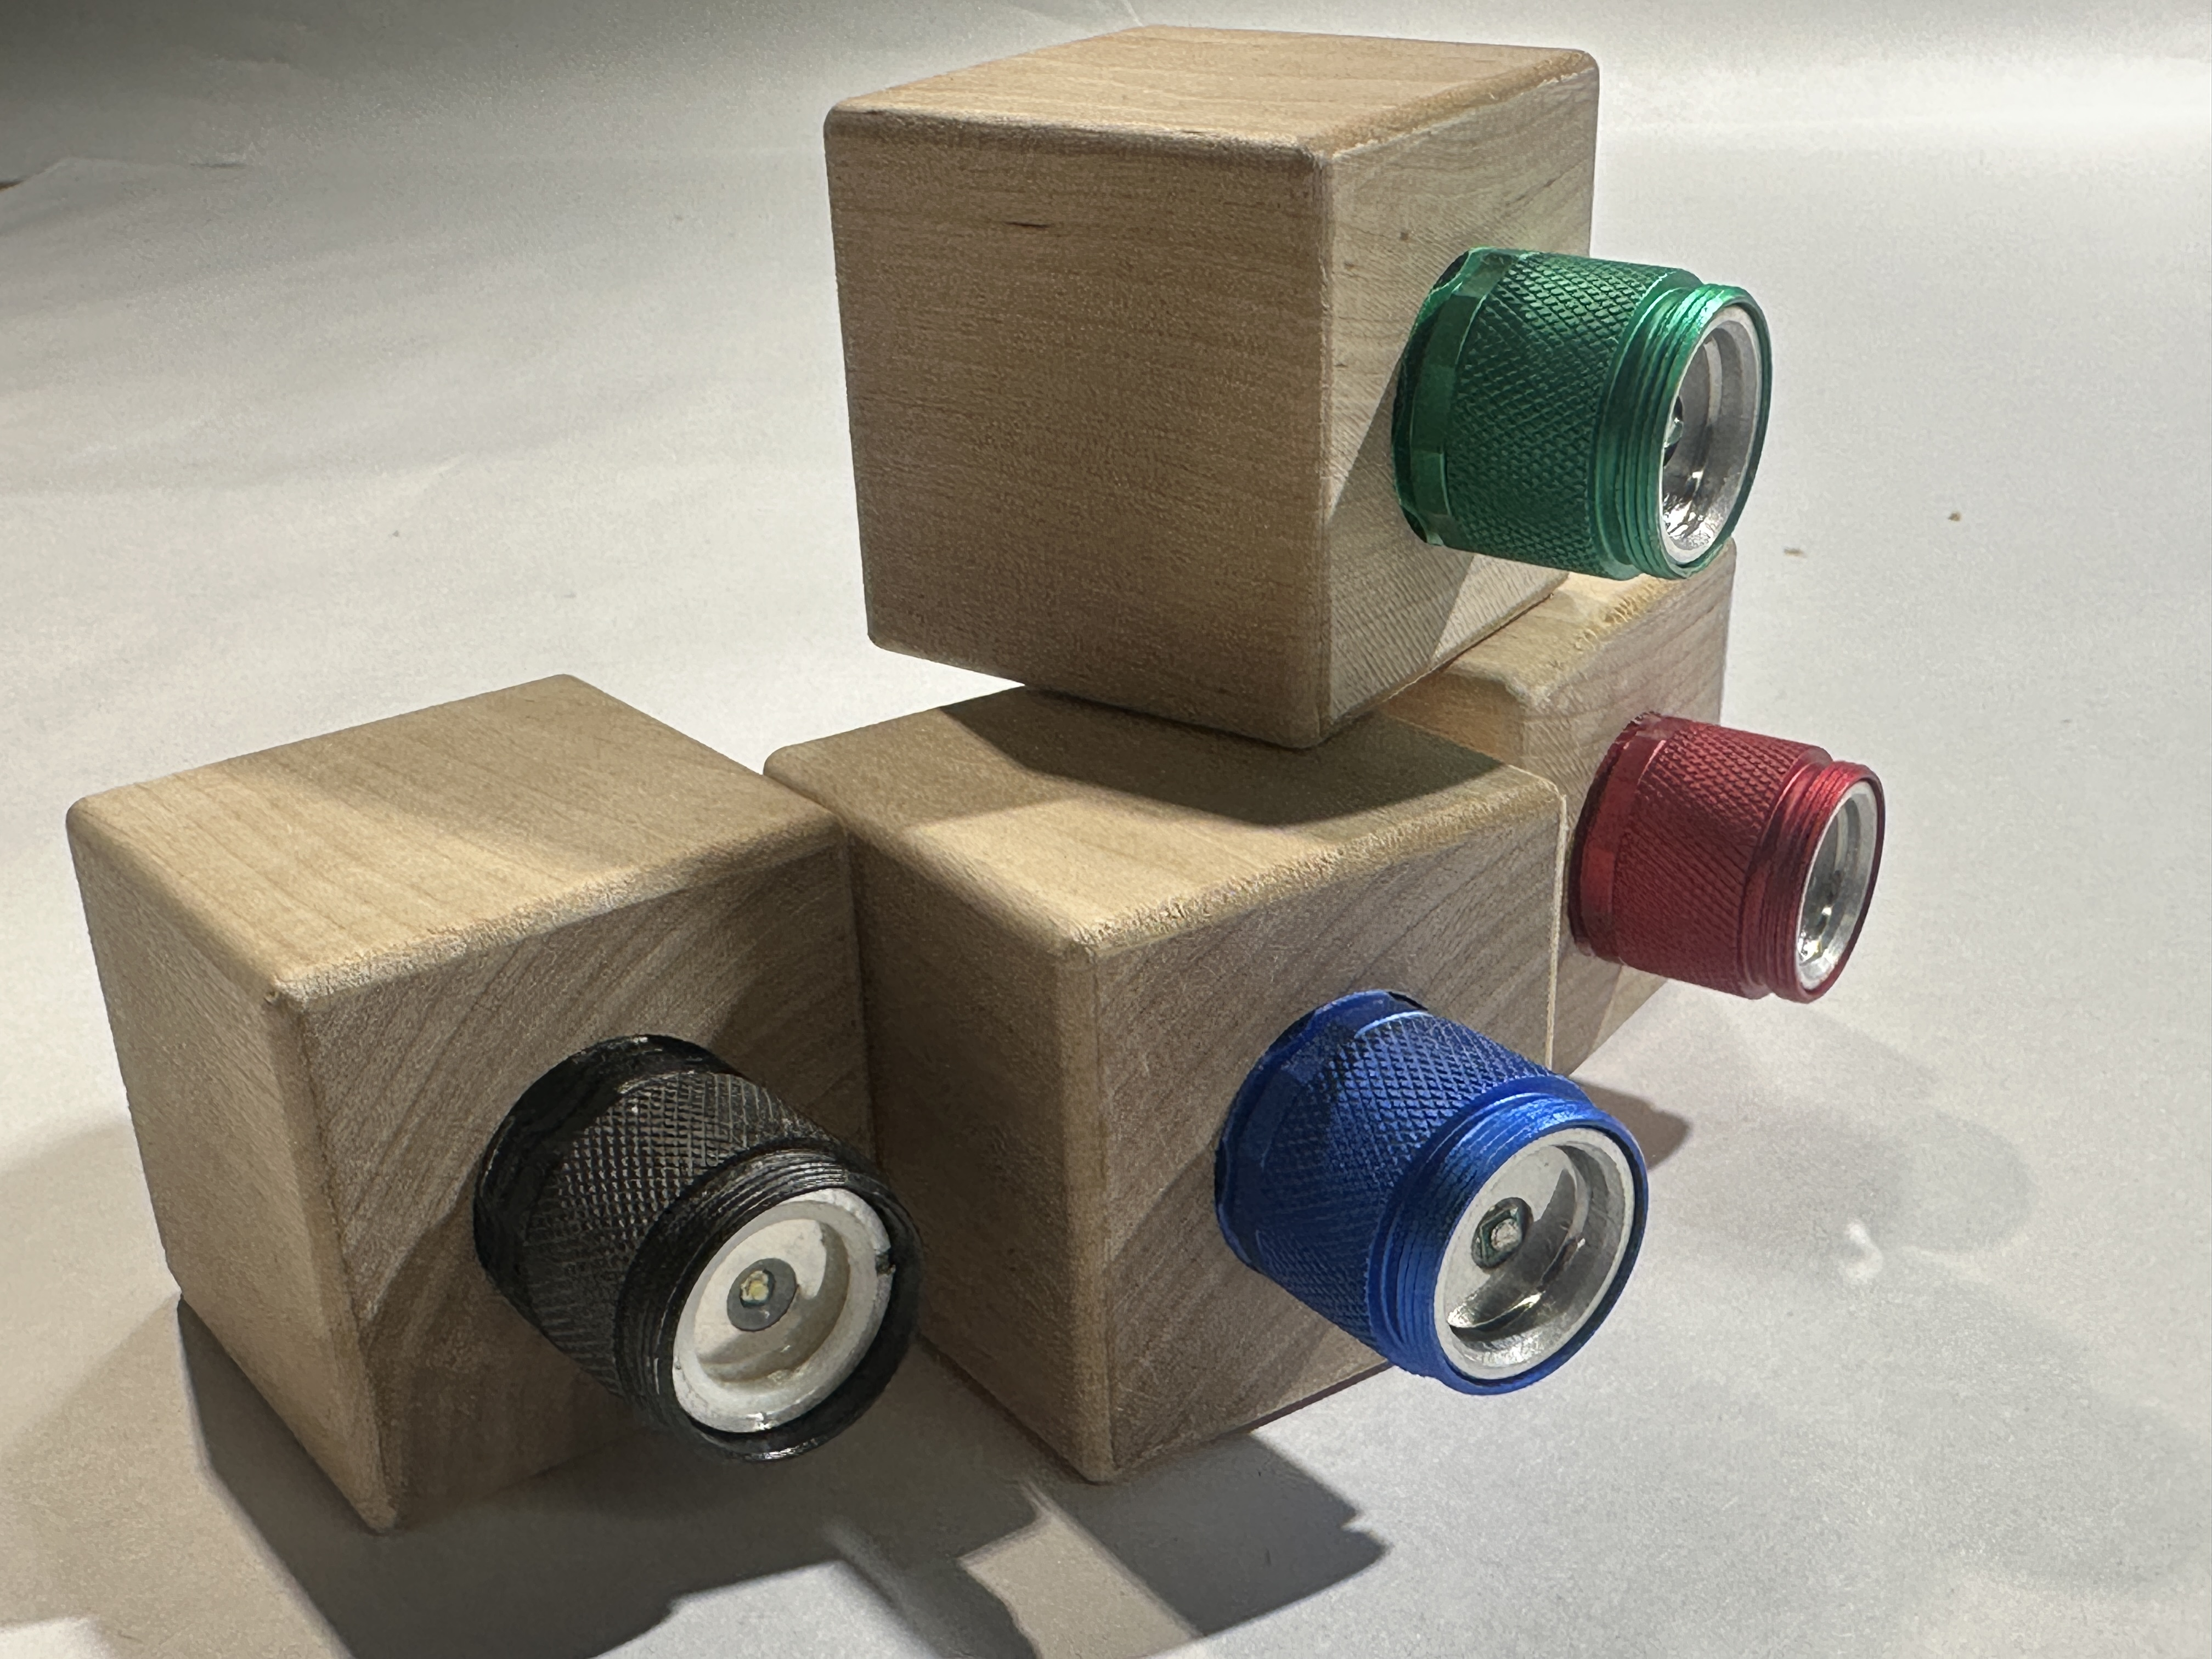
Again, we make the modification of removing the lens cap and lens from these flashlights. Unlike the maglites, even without the lens cap, there’s enough of a rim that the LED is protected so we don’t need to create any new parts.
We’ve also been inserting these flashlights into a 2” x 2” x 2” block of wood so that they are easy to stack and place. To do this, we drill a 1” hole in the block of wood and gently hammer the flashlight in. Here’s a video of the process.
We’ve used these light sources on our museum floor, tested them in early childhood settings, and used them with adults in professional development workshops. While the mini maglite still has the best white light, for the ease of use and the price, we’re a big fan of these flashlights.
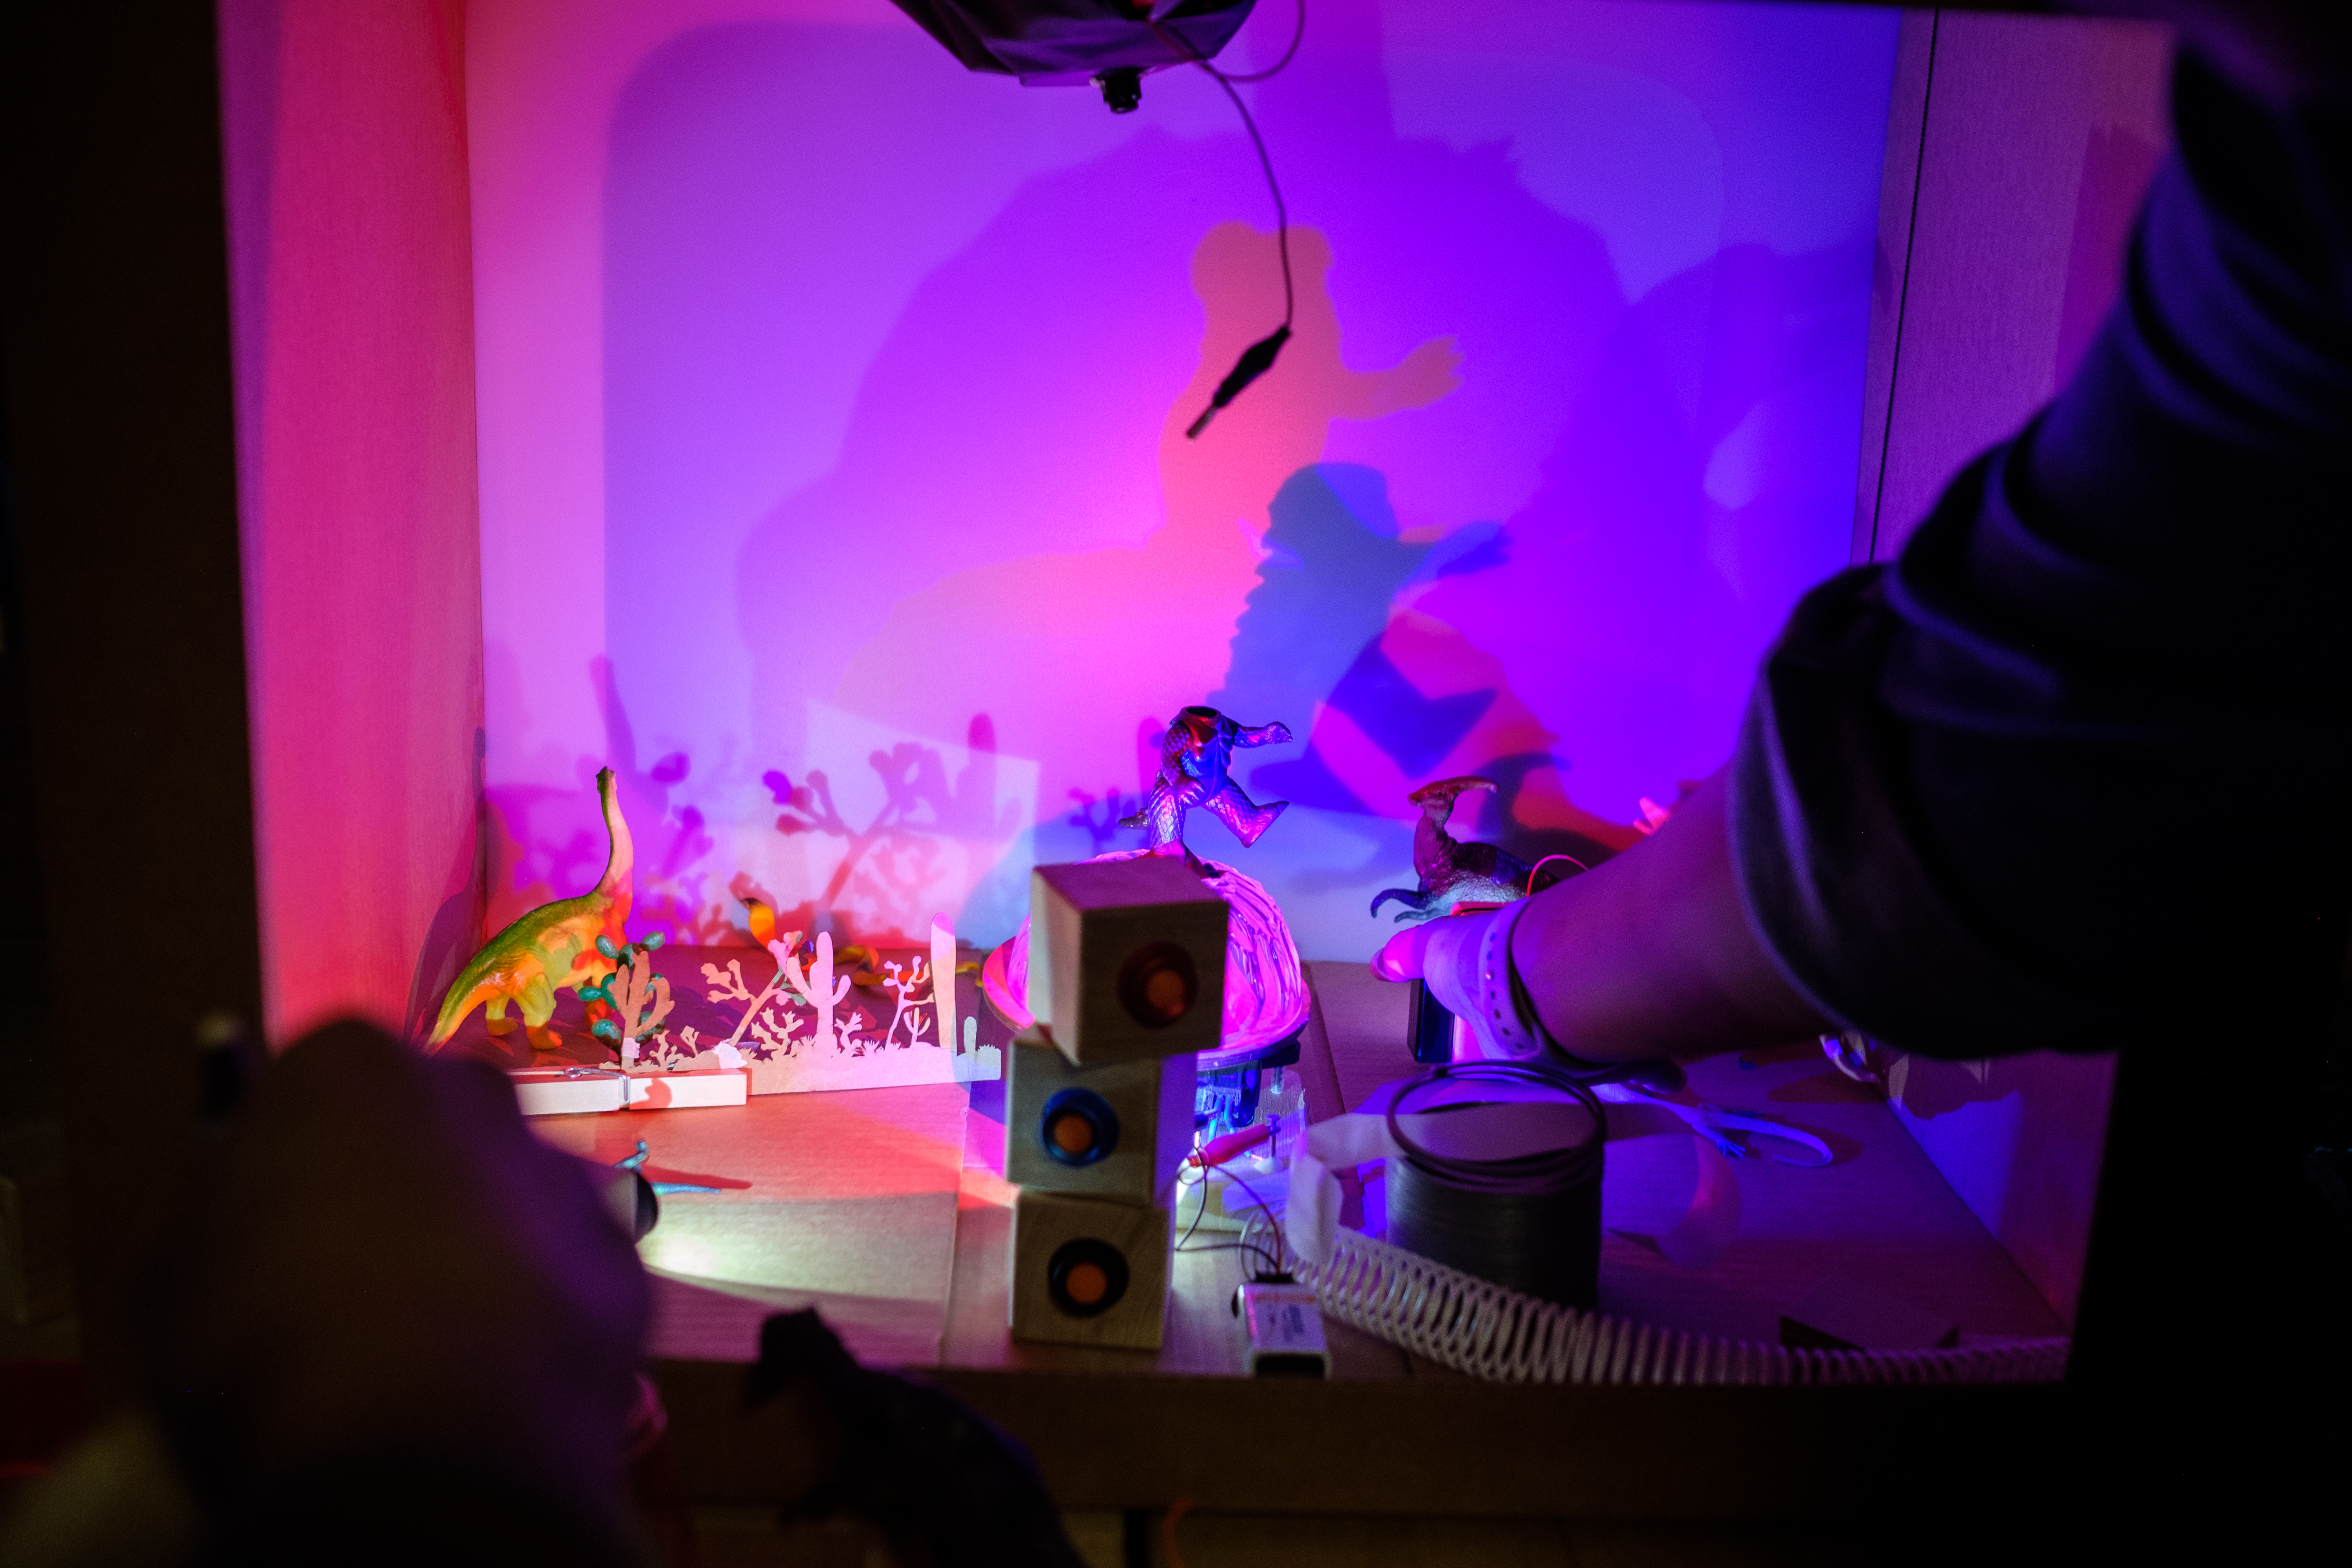
These Light Blocks in action during a Light Play experience
If you end up trying any of these options, or if you find another light source that you like, or if you have suggestions for improvements and iterations, please let us know!
* We like Uline masking tape
** We also like Uline boxes